How to align increases with decreases in crochet? Amigurumi Guide
Making a round amigurumi is child’s play! In fact, a Christmas Ornament is often the first amigurumi people make to get the hang of it. But as soon as it comes to creating a cube, a rectangle, or a flat base with sharp corners, things get tricky. If your corners “twist” or your square looks more like a propeller, don’t panic: it’s a classic technical challenge. The secret lies in the vertical alignment of increases and decreases.
In this guide, I’ll explain how to master crochet geometry to get perfectly aligned edges, whether right here in writing or via my YouTube video tutorial!
Why aren’t your corners straight and why is your work twisting?
When crocheting in a spiral (the basic amigurumi technique), the stitches tend to naturally shift to the right (for right-handers) as the raws progress. This is a completely normal phenomenon, linked to the way you crochet. By crocheting correctly, you can limit this shift, and I will explain how to do so later in this article.
The problem: If you align your decreases exactly with your increases theoretically, your work will take on a propeller shape. Indeed, by ignoring this natural movement, your edges will lose their verticality and your work will appear to “twist.”
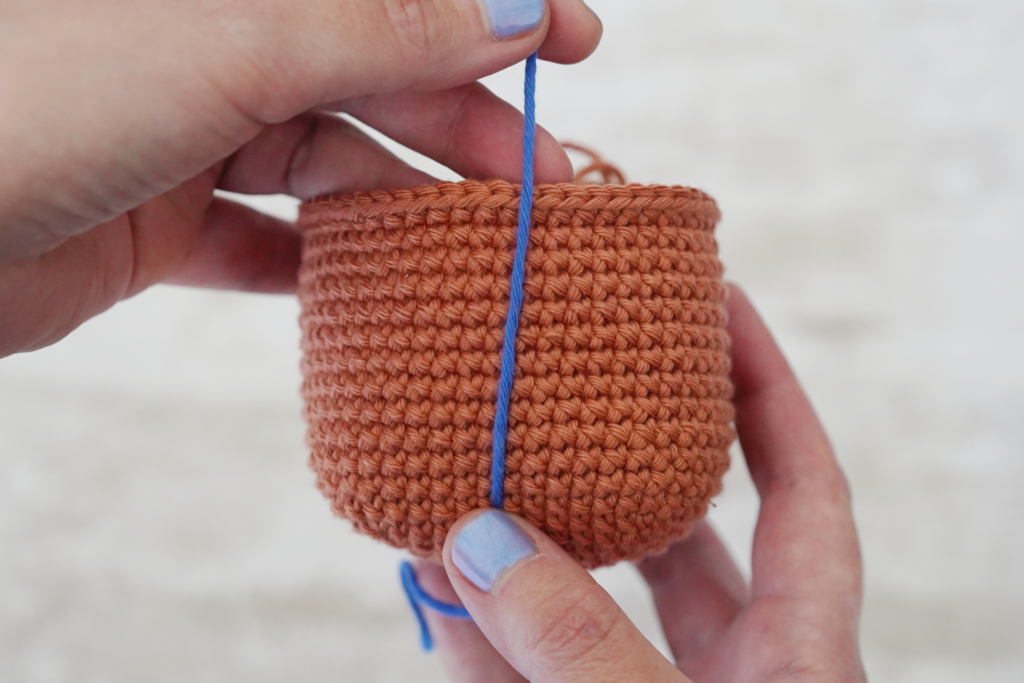
The solution: To obtain well-aligned edges, you must “force” this alignment. The trick consists of shifting your decreases by a few stitches relative to the initial position of the increases. This allows you to compensate for the natural shift that has built up over the rounds.
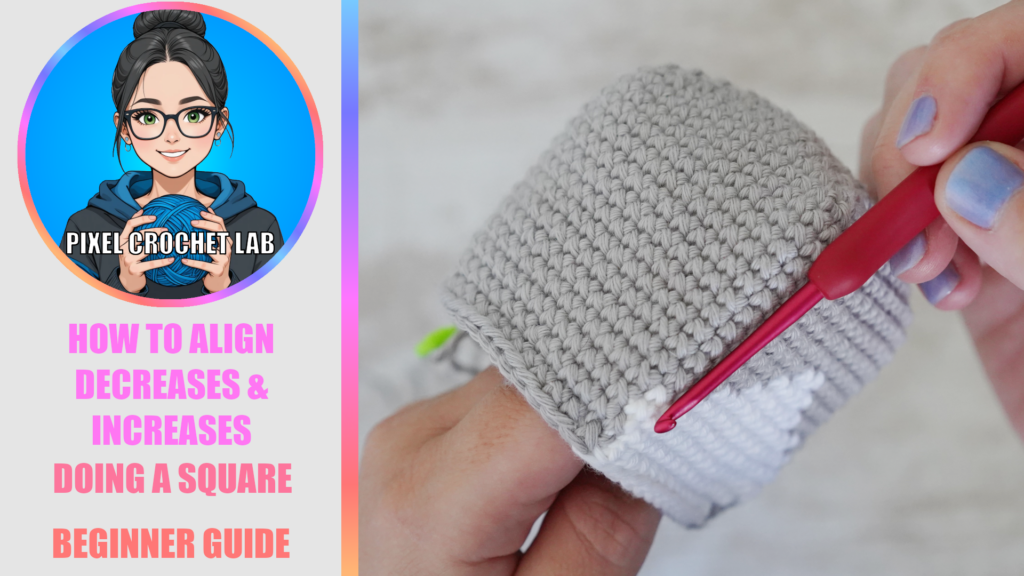
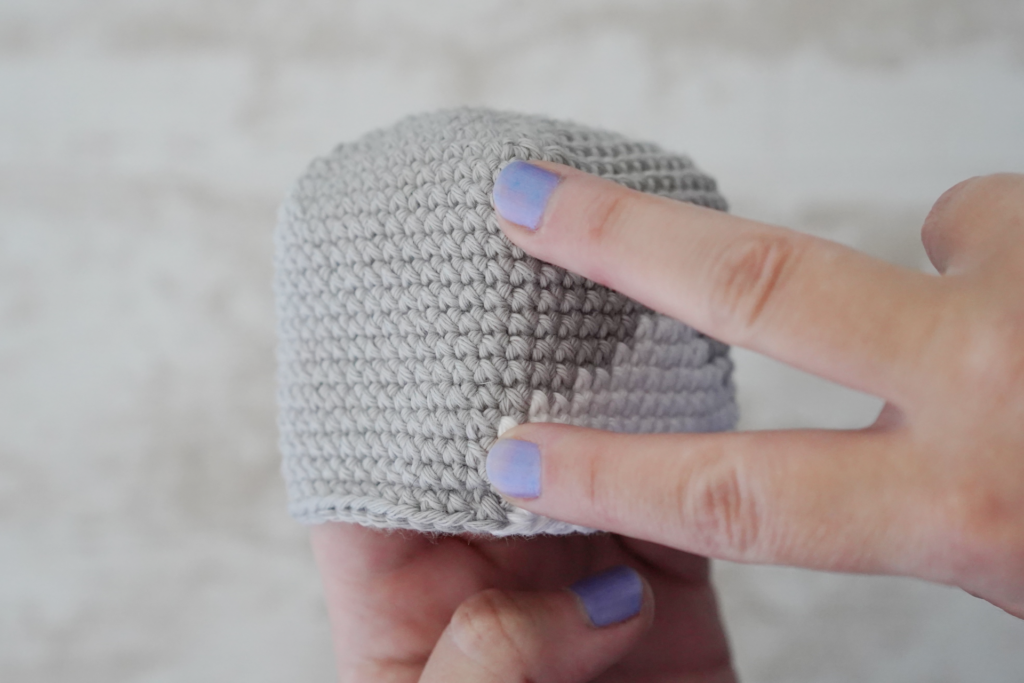
The finger test: By placing your index finger at the level of the increases, and your middle finger at the level of the decreases, you will see immediately if everything is properly aligned. If necessary, you can rectify accordingly by shifting by one or two stitches.
How to limit stitch shift when crocheting in a spiral?
There are several little tips to prevent this shift from becoming too significant, and I’m going to reveal them to you here.
First tip: Crochet in an X shape (1st yarn under / 2nd yarn over). The natural shape of the X-stitch will allow you to make your work twist less.
Second tip: Crochet consistently; your X’s must all be the same size, otherwise it will distort your work and make it twist even more.
Third tip: Do not twist the stitch as you crochet it. Again, this will make your work twist further. Work perfectly parallel to your round.
Shifting to the left or to the right
While following a pattern, you might come across a case where your way of crocheting makes your work twist too much compared to the person who created the pattern. Therefore, you will need to adapt the pattern to your own crocheting style (even if your priority should be learning to crochet in a way that twists as little as possible!).
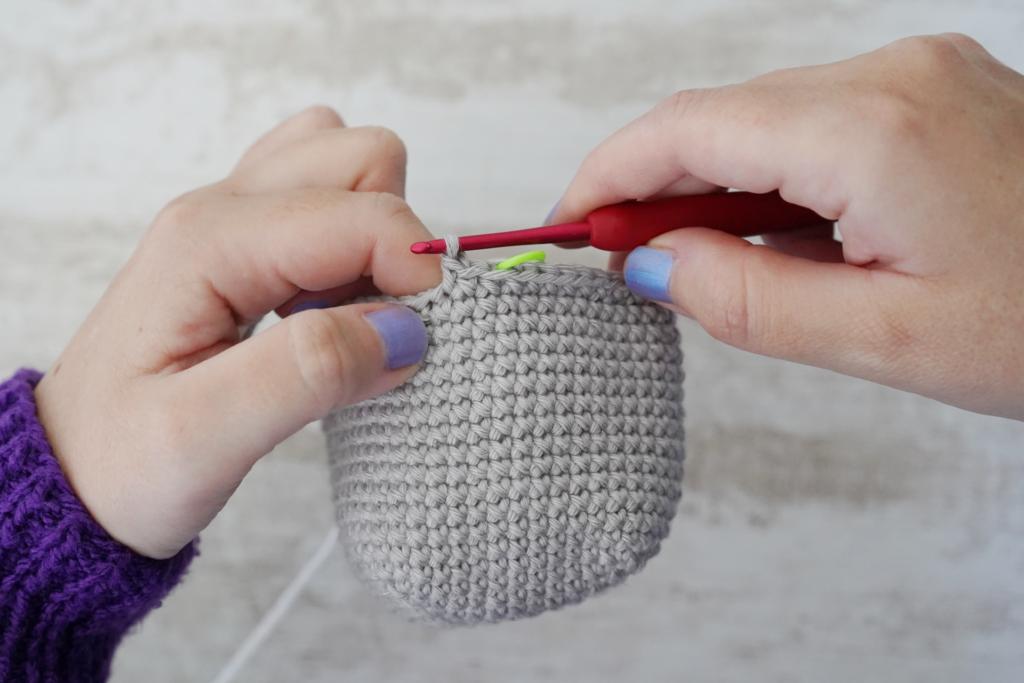
First scenario: Your decrease angle (here, the decreases are located at the bottom of the image) is shifted too far toward the beginning of the raw. This means your crocheting style twists more than that of the person who designed the pattern. You will need to shift your decreases by one or two stitches and therefore work more single crochets before the first decrease. The number of stitches between two decreases remains the same. Only the beginning of the raw and the end of the raw will change by a few stitches. Indeed, if you “add” one or two stitches at the start of the round, you will have that many fewer at the end of the round.
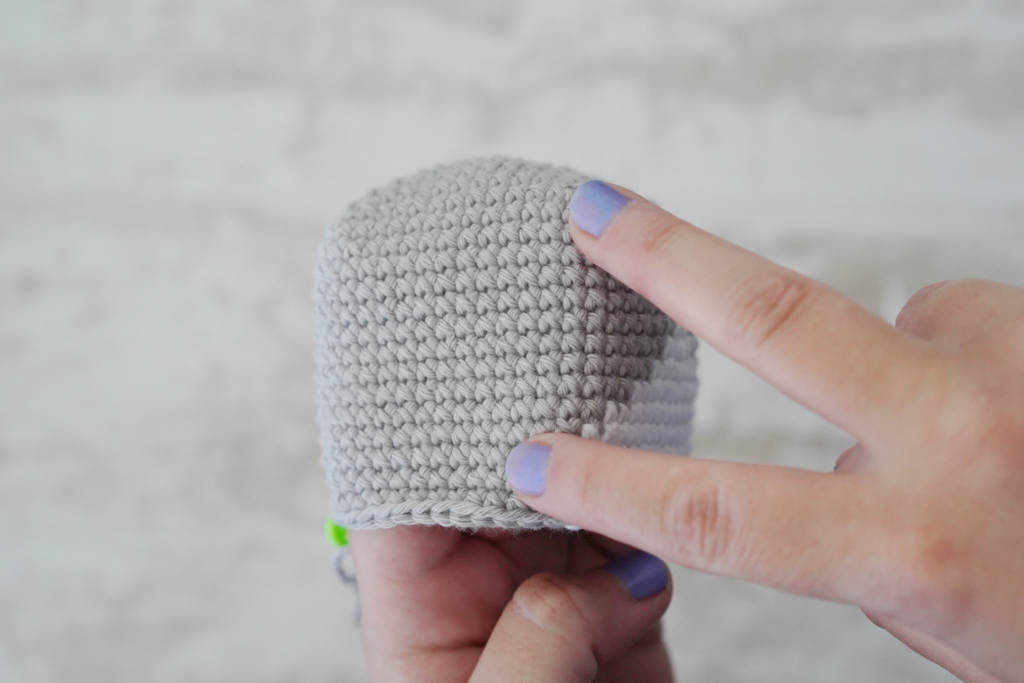
Second scenario: Your decrease angle (here, the decreases are located at the bottom of the image) is shifted too far toward the middle of the round. This means your crocheting style twists less than that of the person who created the pattern. You will need to shift your decreases by one or two stitches and therefore work fewer single crochets before the first decrease. The number of stitches between two decreases remains the same. Only the beginning of the raw and the end of the raw will change by a few stitches. Indeed, if you “remove” one or two stitches at the start of the round, you will have that many more at the end of the round.
Conclusion: You now know how to align your increases with your decreases!
Succeeding in getting well-aligned corners requires a bit more vigilance than for a simple sphere, but the result is worth it. By rigorously aligning your increases with your decreases, you will obtain a very regular and pretty amigurumi, and it will surely impress everyone around you. But never forget that the most important thing is to learn to crochet in a way that does not twist your work, because when you want to introduce color, it could cause problems.
If you like my tutorials, feel free to subscribe to my YouTube channel and give it a thumbs up; it helps me a lot! You can also support me by buying a product in my Etsy Shop (if a pattern catches your eye, of course! :)). If you want tutorials on specific crochet subjects, don’t hesitate to tell me in the comments of my videos! Find all the guides already available in the Crochet Tutorials & Tips section of the site! 🙂