How to attach the arms to the body of your crochet amigurumi
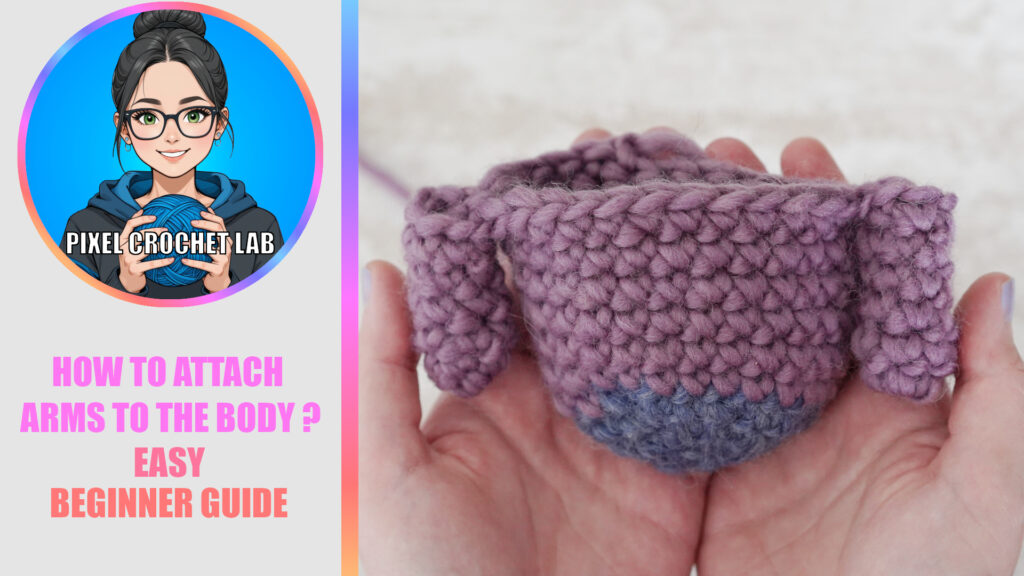
How to attach the arms to the body of your crochet amigurumi.
When you are crocheting a seamless amigurumi, you will need to attach the arms to the body directly. We are going to see together how to proceed and you will see that it is rather simple.
I will explain to you either in writing or via my YouTube video tutorial how to do it to get a perfect result!
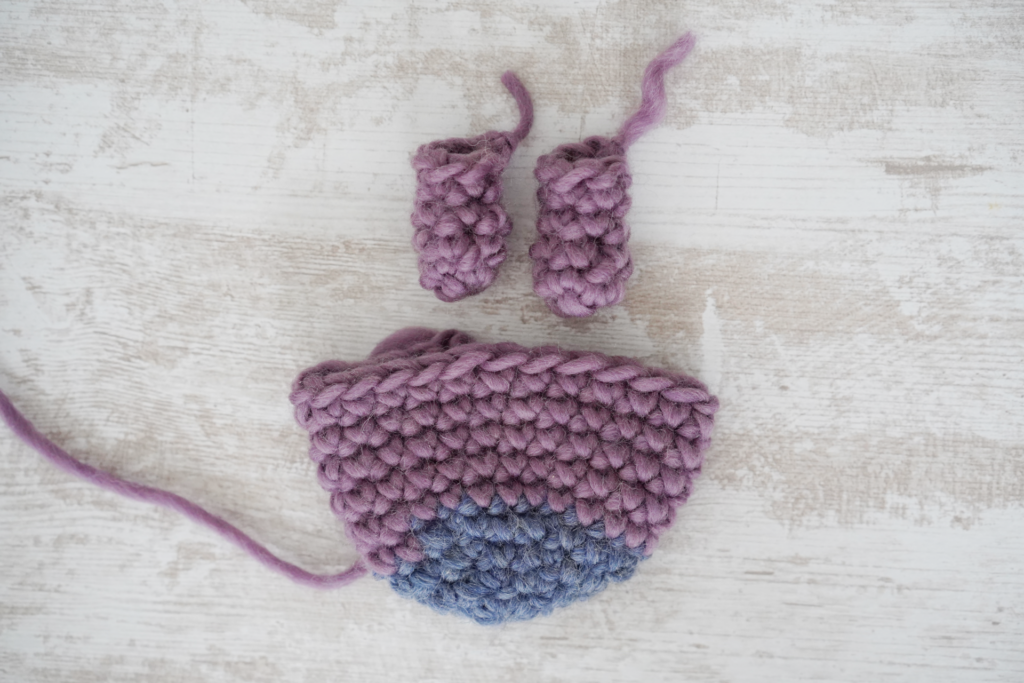
Step 1: Prepare your pieces
- 2 arms: in this tutorial, both arms have 6 stitches.
- The body: this is what we will use to attach the arms.
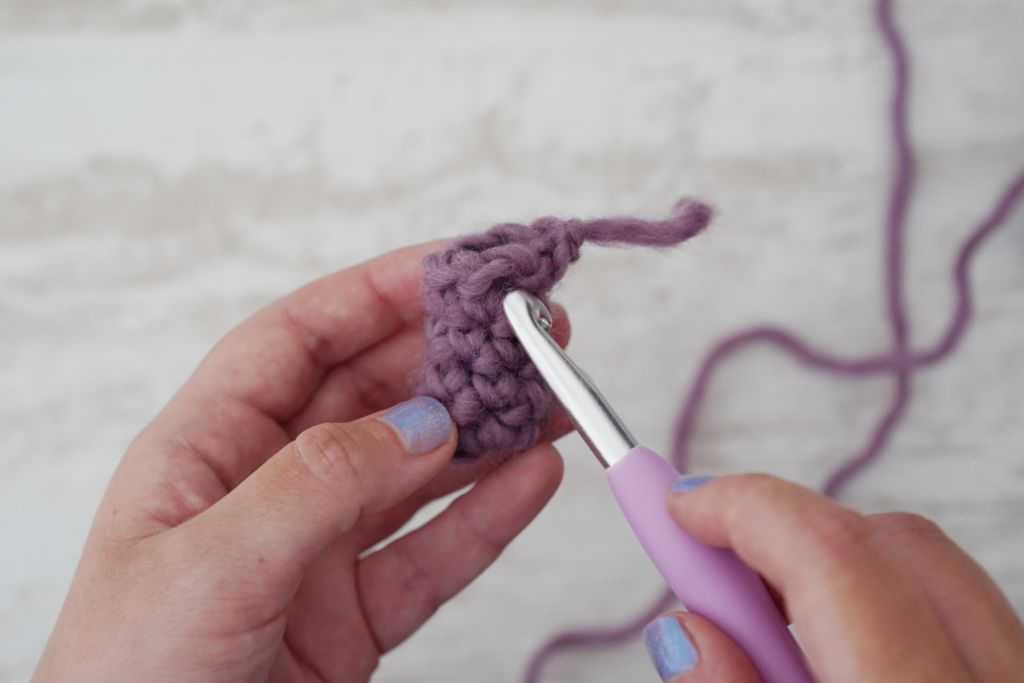
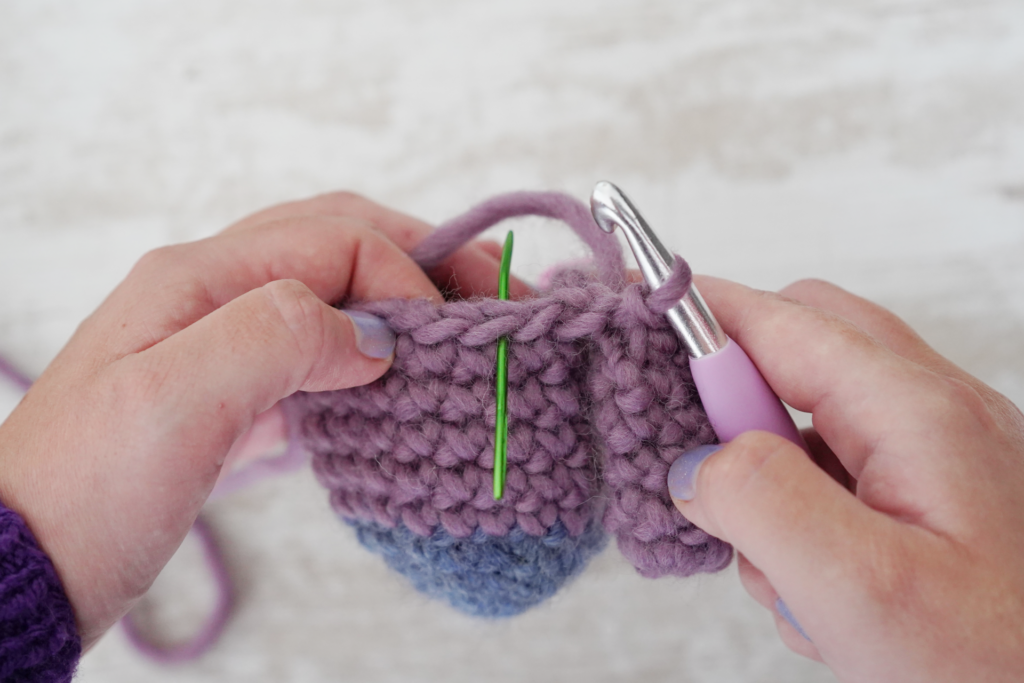
Step 2: Go around the first arm
- Take the first arm. The first stitch of the round is located to the left of the knot.
2. Take the body in your right hand.
3. Pass the hook under both loops of the stitch we just identified above and crochet your first X-stitch single crochet.

4. Crochet 5 more stitches by going all the way around the arm.
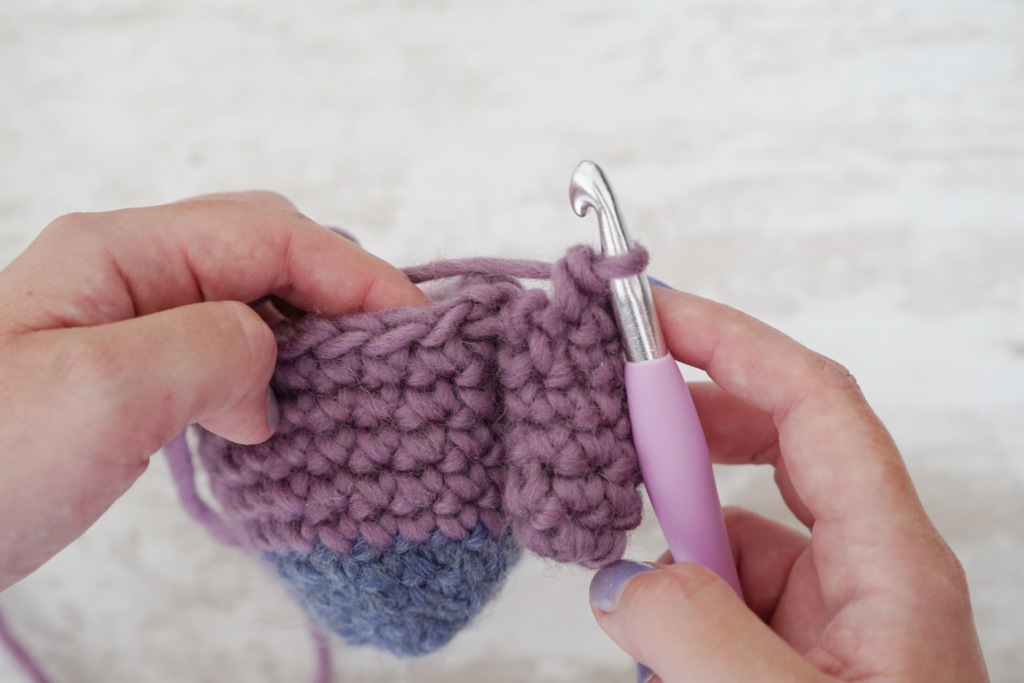
5. The first arm is finished. Work a slip stitch at the armpit to avoid any unsightly holes. Please note, this slip stitch does not count as a stitch!
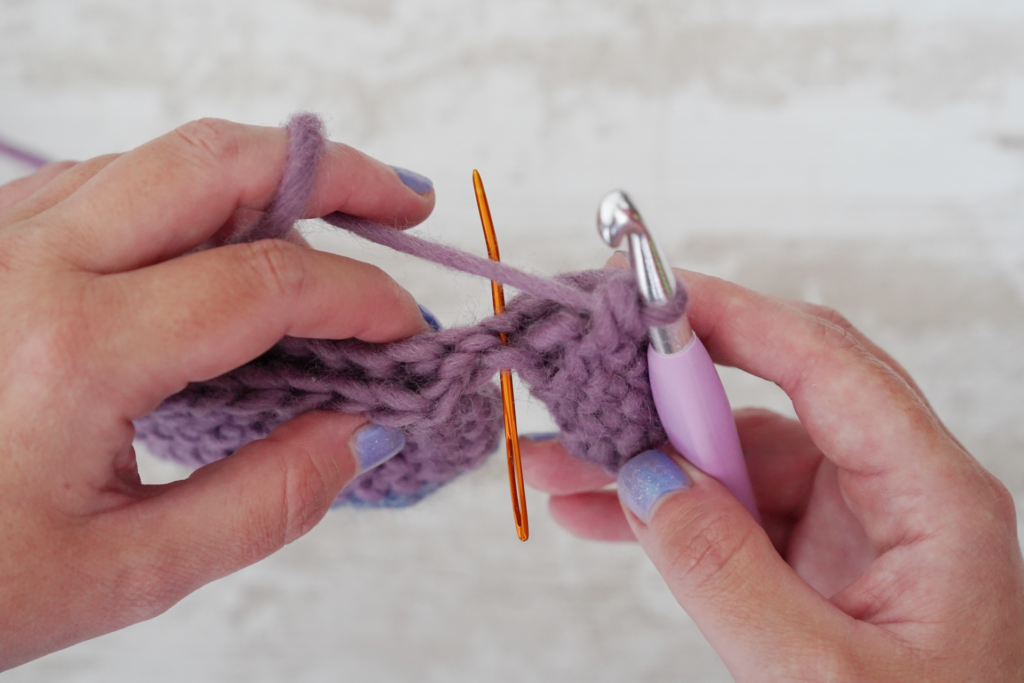
6. It is now time to re-attach to the body by making your next single crochet into the body.
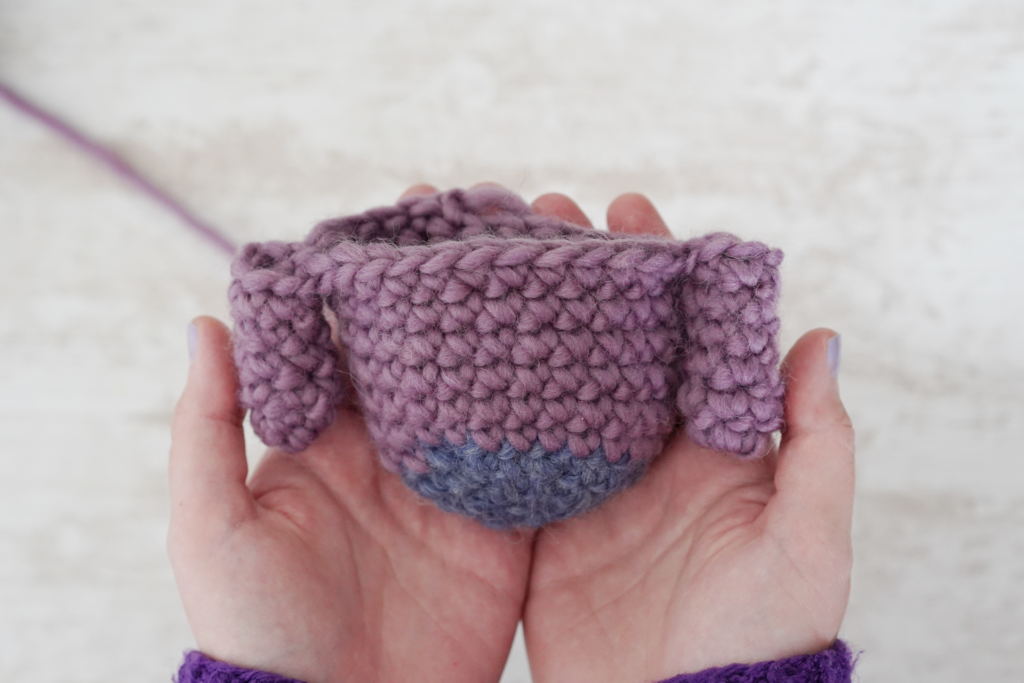
Step 3: Do the same with the second arm
YouTube video tutorial
I invite you to watch my Youtube Video on how to attach the arms to the body of your crochet amigurumi.
You have just attached the arms to the body of your amigurumi!
If you enjoy my tutorials, feel free to subscribe to my YouTube channel and give it a thumbs up ! it helps me a lot! You can also support me by purchasing a product from my Etsy Shop (if a pattern catches your eye, of course! :)).
If you would like tutorials on specific crochet topics, don’t hesitate to let me know in the comments of my videos! You can find all my available tutorials in the Crochet Tutorials & Tips section of the website.