How to do an invisible decrease in crochet? The amigurumi guide

Creating rounded and harmonious shapes is the challenge of every passionate amigurumi crocheter. While classic decreases sometimes leave unsightly bumps or small holes that reveal the fiberfill stuffing, the invisible decrease is the ideal technical solution. In this guide, I will explain how to master this essential stitch to achieve impeccable finishes on all your crochet plushies. I will explain either in writing or via my YouTube video tutorial how to decrease to obtain a perfect result!
Why use the “invisible” decrease?
In crochet, a decrease (noted dec) consists of crocheting two stitches together by passing under both loops of each stitch. However, this standard method often creates a thick ridge or a small hole, which is not aesthetic on a plushie.
The invisible decrease solves these problems:
Smooth surface: Essential for obtaining very regular curves on your dolls.
Total discretion: It blends perfectly with the rest of the X-stitches.
Zero leaks: It keeps the fiberfill stuffing securely inside the body or head.
The technique: Front Loop Only (FLO)
The secret of this invisible decrease technique lies in working only in the front loops of the stitches.
In crochet, each stitch forms a “V” on top. The loop closest to you is the front loop (FL), and the one furthest away is the back loop (BL).

Tutorial: Step-by-step invisible decrease
The principle is based, as with the increase, on working the front loop only (Front Loop Only).
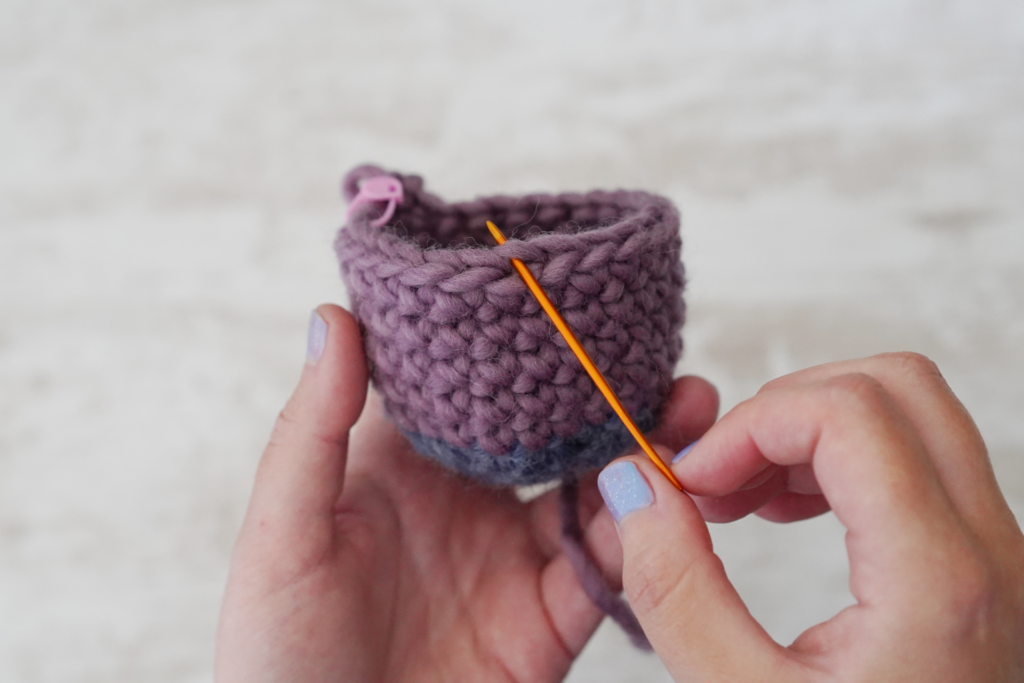
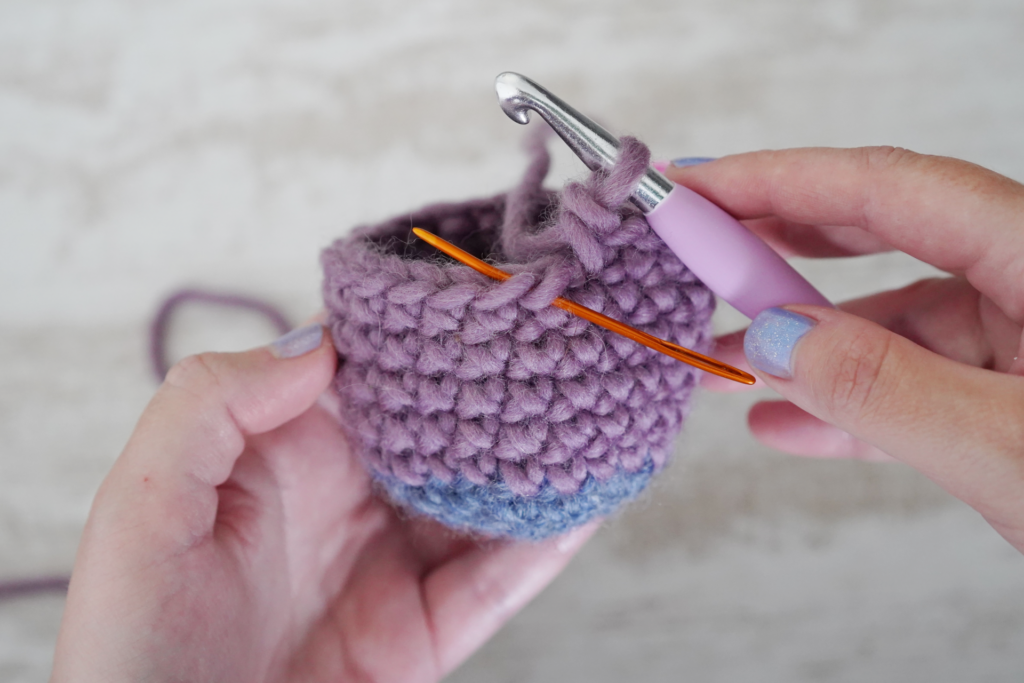
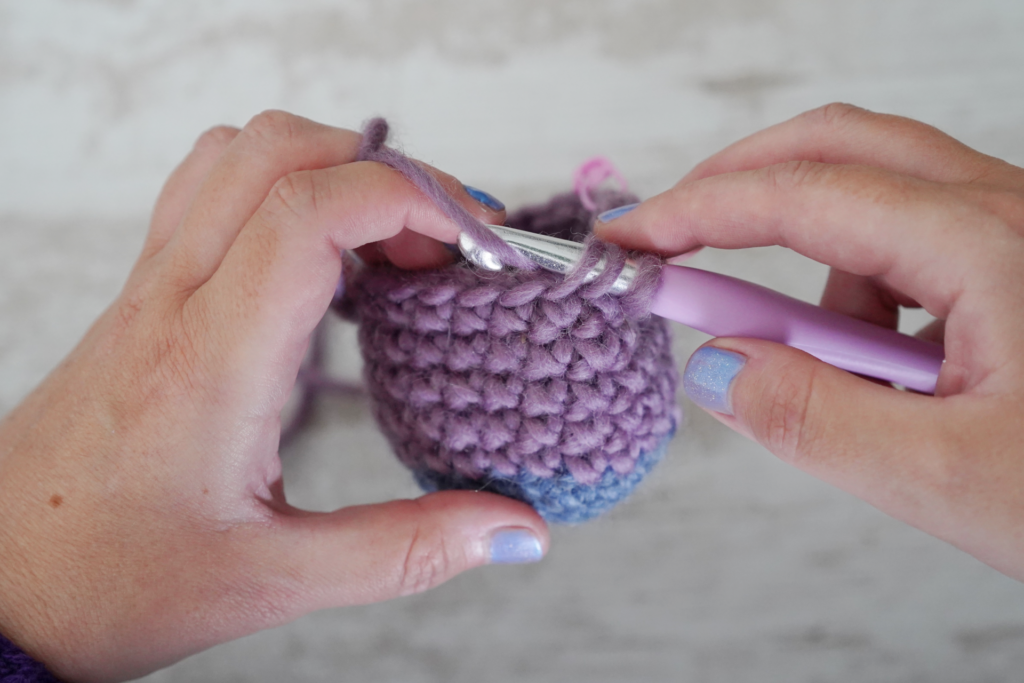
1. Insert into the front loop of the first stitch, then into the front loop of the next stitch
Insert your hook under the front loop of the first stitch. Pivot the tip of your hook to insert it under the front loop of the next stitch. You now have three loops on your hook (the starting loop + the two front loops).
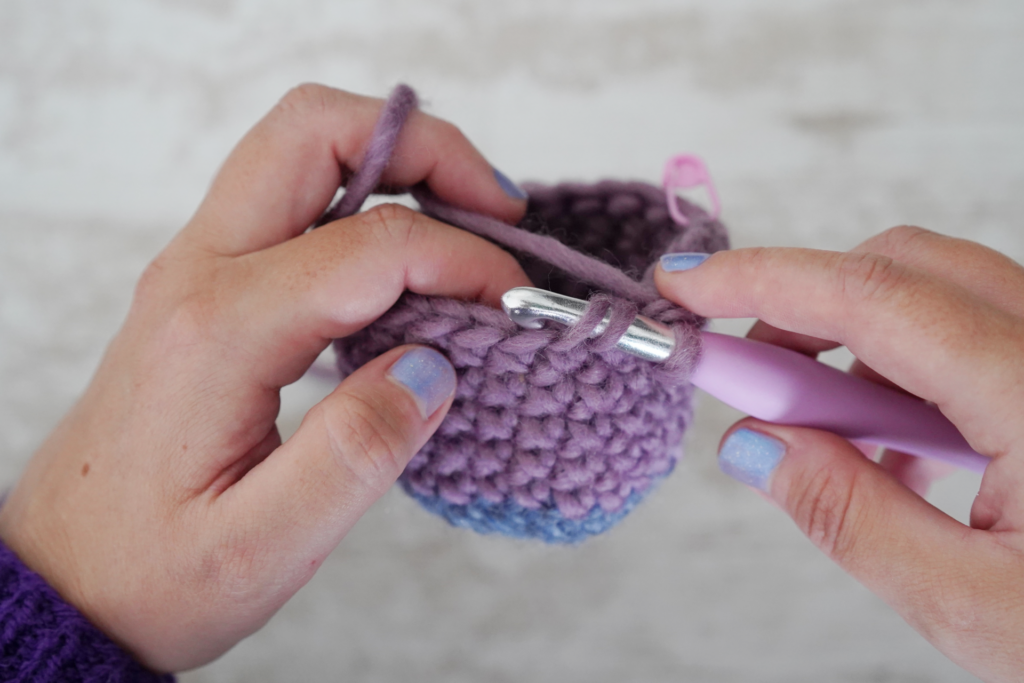
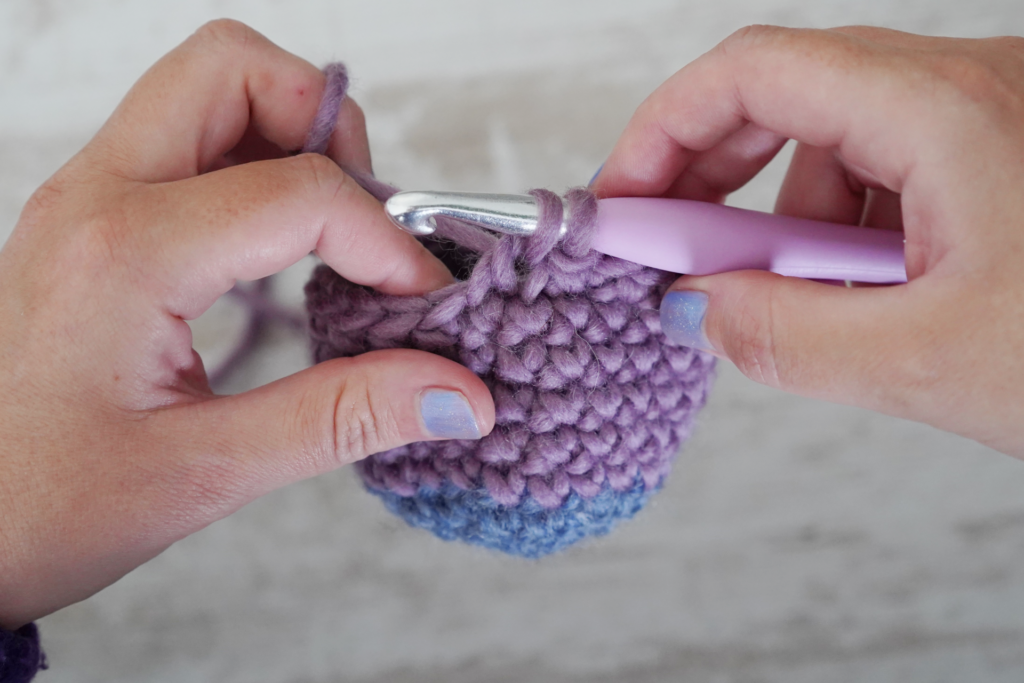
2. First yarn over (Yarn Under)
Perform a yarn under (Yarn Under, to keep your X-pattern) and pull the thread through the two front loops. You should have two loops remaining on the hook.
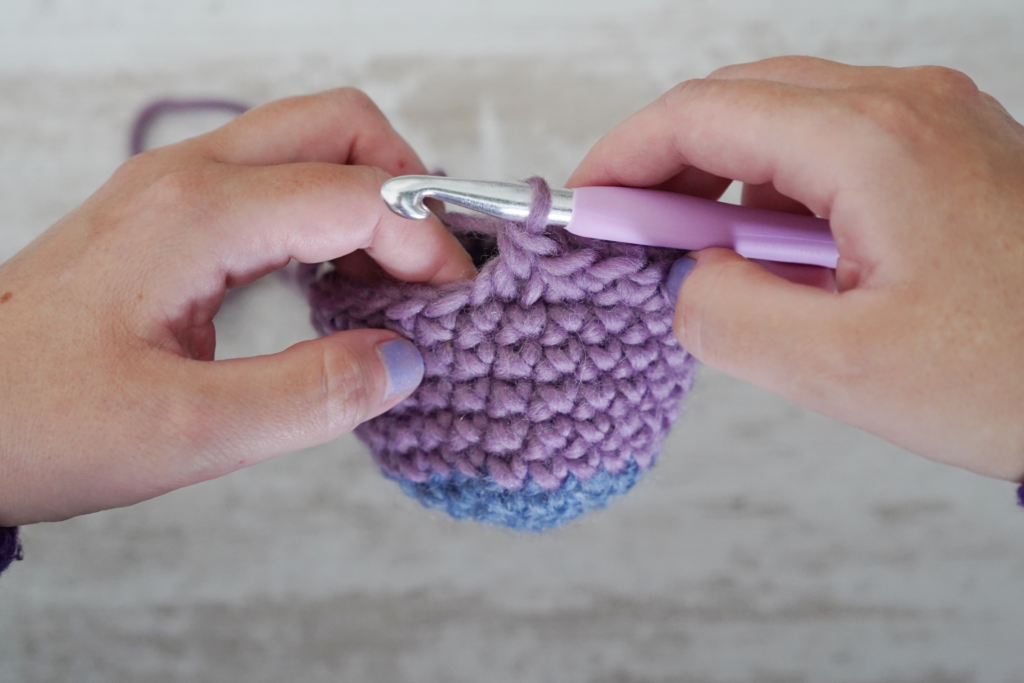
3. Finalize the stitch (Yarn Over)
Finish your single crochet with a yarn over (Yarn Over) by passing through the two remaining loops.

4. YouTube tutorial videos
I invite you to watch my YouTube video on how to perform the invisible decrease.
Conclusion : Your amigurumis are moving to the next level!
With the magic ring, the X-stitch, the invisible increase, and the invisible decrease, you now possess the entire technical arsenal to succeed at any amigurumi pattern! There are still a few details left, such as the color change.
If you enjoy my tutorials, feel free to subscribe to my YouTube channel and give it a thumbs up ! it helps me a lot! You can also support me by purchasing a product from my Etsy Shop (if a pattern catches your eye, of course! :)).
If you would like tutorials on specific crochet topics, don’t hesitate to let me know in the comments of my videos! You can find all my available tutorials in the Crochet Tutorials & Tips section of the website.