Invisible color change crochet tutorial. Amigurumi guide
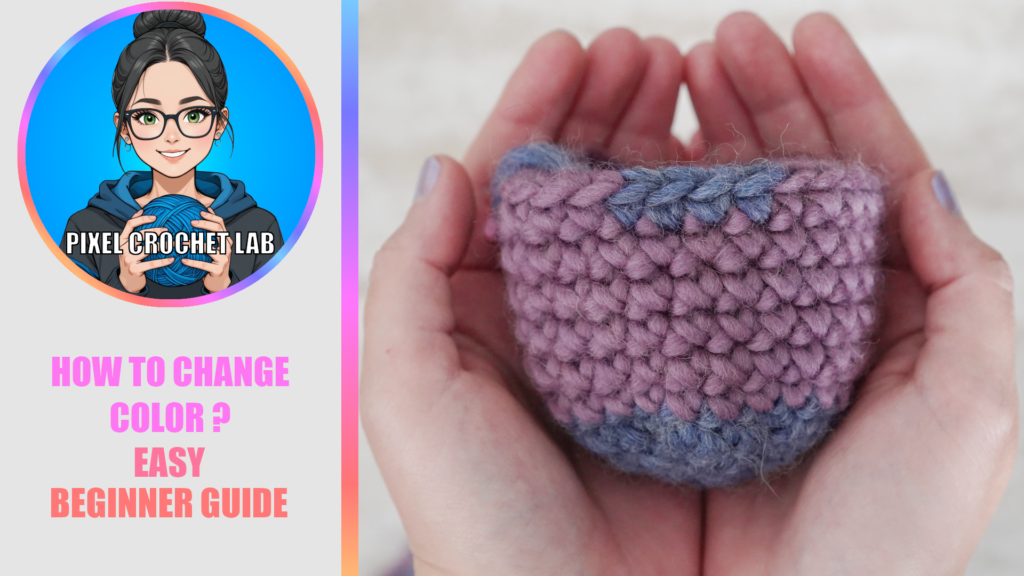
How to change colors in crochet? The invisible technique. Color changing is a key step in bringing your creations to life, whether you are creating stripes, adding patterns to an amigurumi, or adding details to clothing. To avoid ending up with a large visible seam, the most effective method is to perform the color change on the last yarn over of the previous stitch.
I will explain to you, either in writing or via my YouTube video tutorial , how to do it to achieve a perfect result!
Why change colors “before” the new stitch?
If you wait until you have finished your stitch to introduce the new yarn, you will notice a small loop of the old color on top of your first colored stitch. By integrating the new color while closing the previous stitch, you ensure:
- A clean transition: The head of the next stitch will immediately be the correct color.
- Perfect alignment: Ideal for amigurumis where row precision is essential.
- A pro finish: No visible “knots” or yarn shifts on the right side of the work.
Tutorial: Step-by-step color change
This technique works for all stitches, but we will illustrate it here with the X-stitch single crochet (Yarn Under / Yarn Over), which is very common for plushies and amigurumi in general.
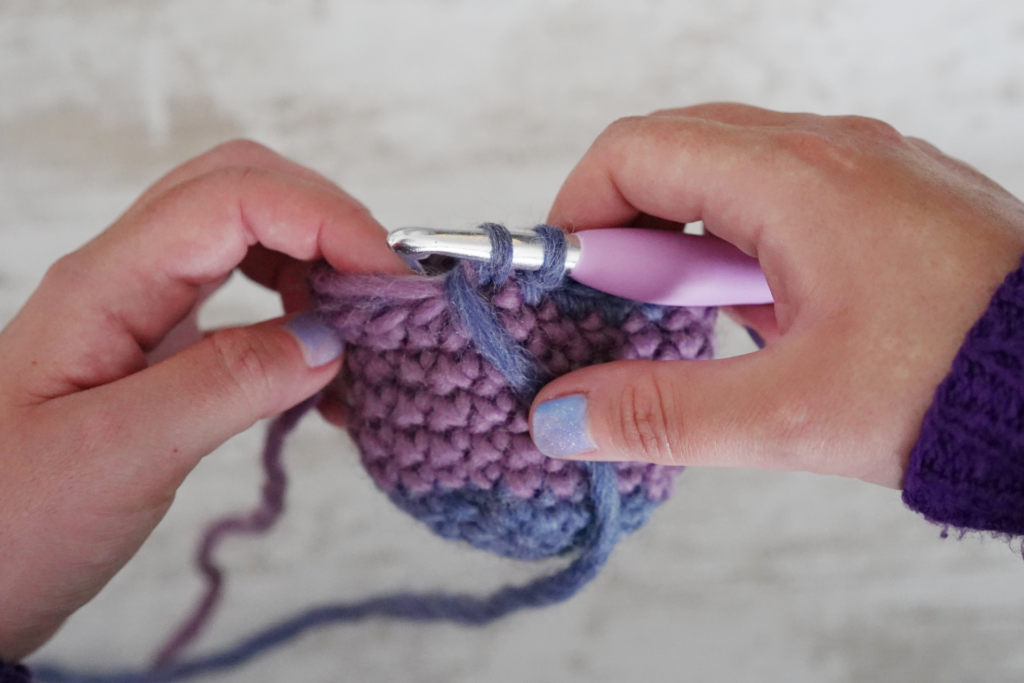
1. Start the last stitch with color A (here purple)
With your current color (Color A), insert the hook into the stitch, Yarn Under and pull up a loop. You have two loops of Color A on your hook. Stop right here.
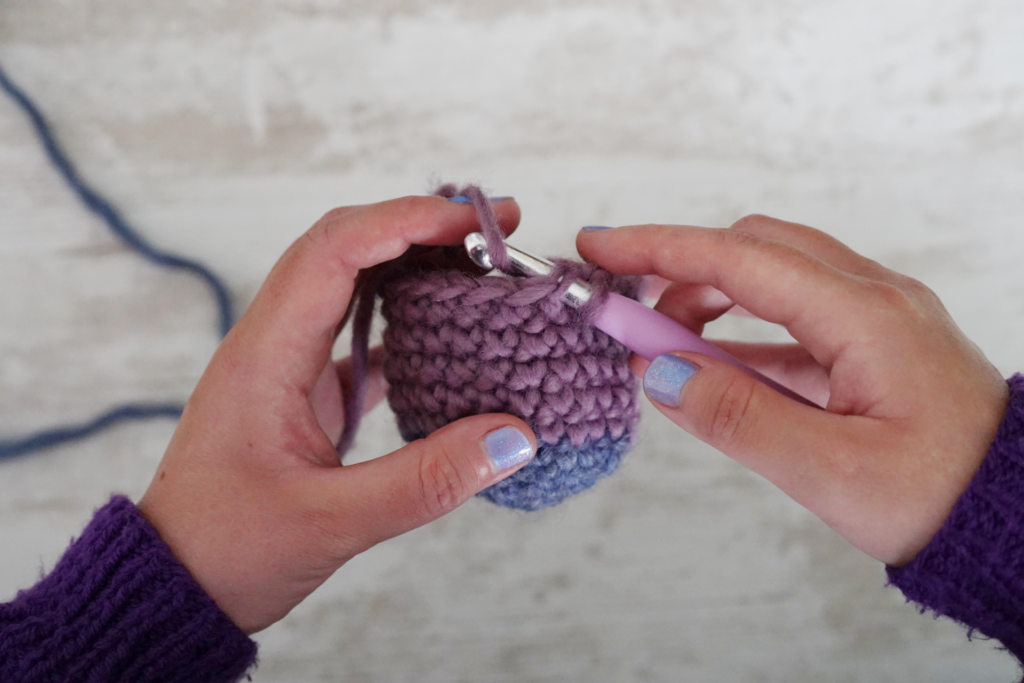
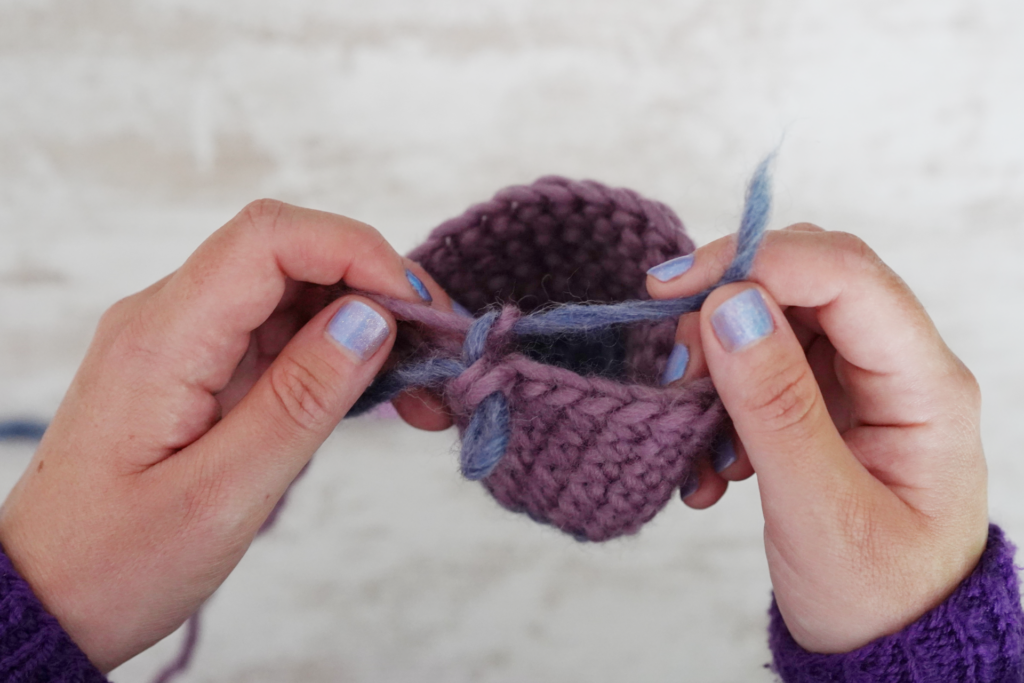
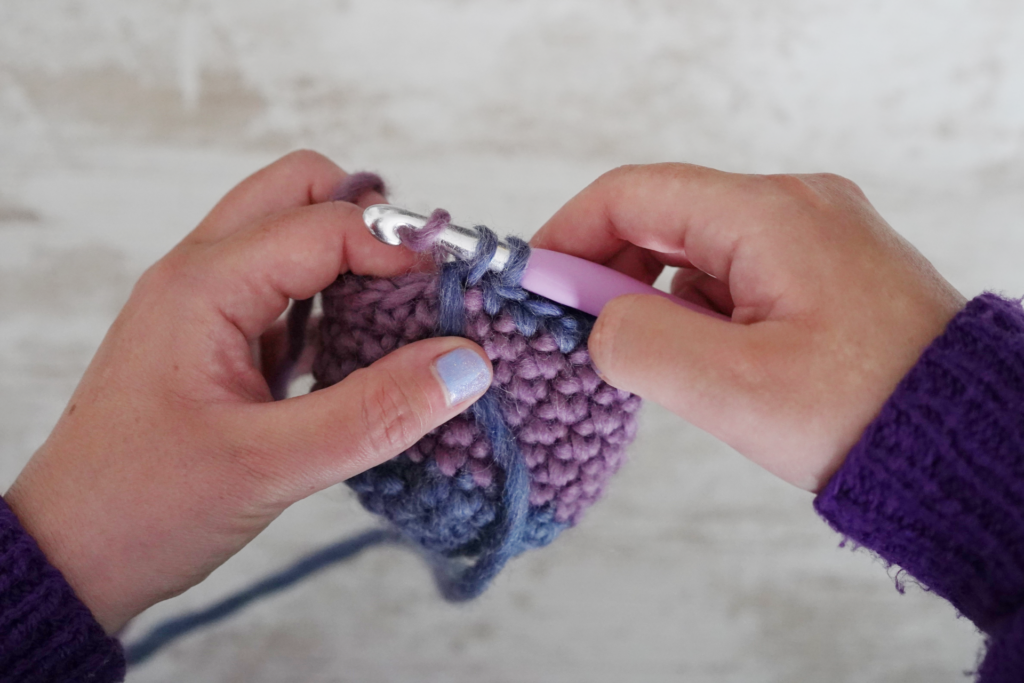
2. Introduce color B (here blue)
Drop the strand of Color A. Take your new yarn (Color B) and place it on your hook.
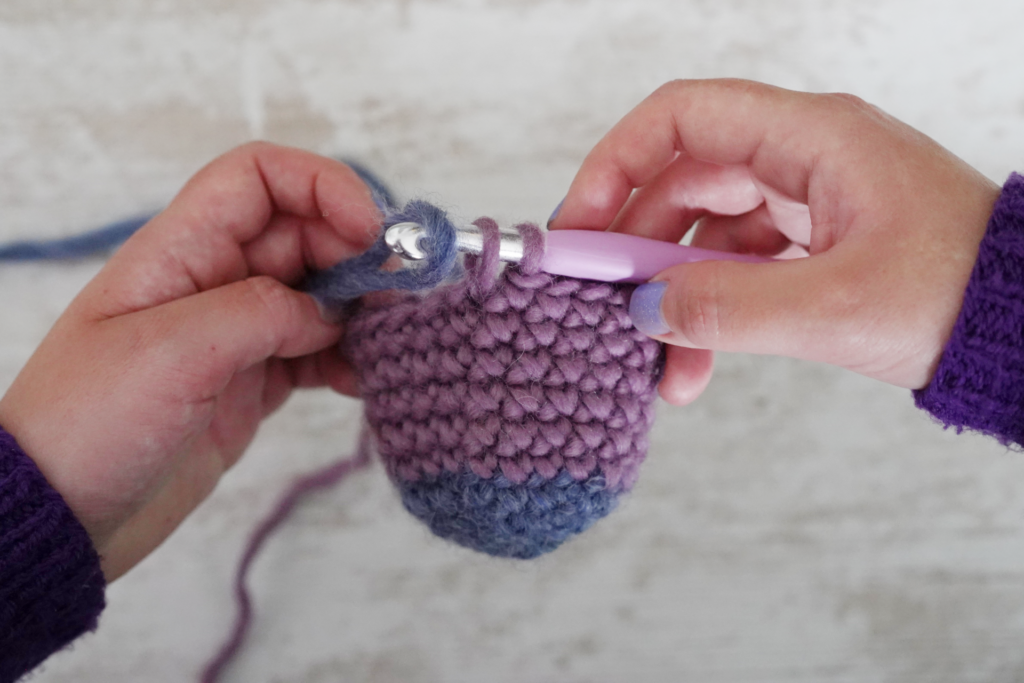
Yarn over with Color B and pull it through the two loops of Color A currently on the hook. Your color change is complete.
IMPORTANT: If the color you are introducing was not already present, don’t forget to tie a knot between the Color A strand and the yarn tail of Color B.
NOTE: When you haven’t used one of the two colors for a few stitches and need to reintroduce it, anticipate this color change by picking up the “carried” yarn one stitch in advance for a more aesthetic result. Let’s put this into practice right away.
Case where you are working with Color B (blue) and changing to Color A (purple).
- Lay the Color A strand along the stitches.
- Crochet the Color B stitch (Yarn Under / Yarn Over) by inserting the hook under the Color A strand to trap it within the stitch.
Now, let’s perform the color change.
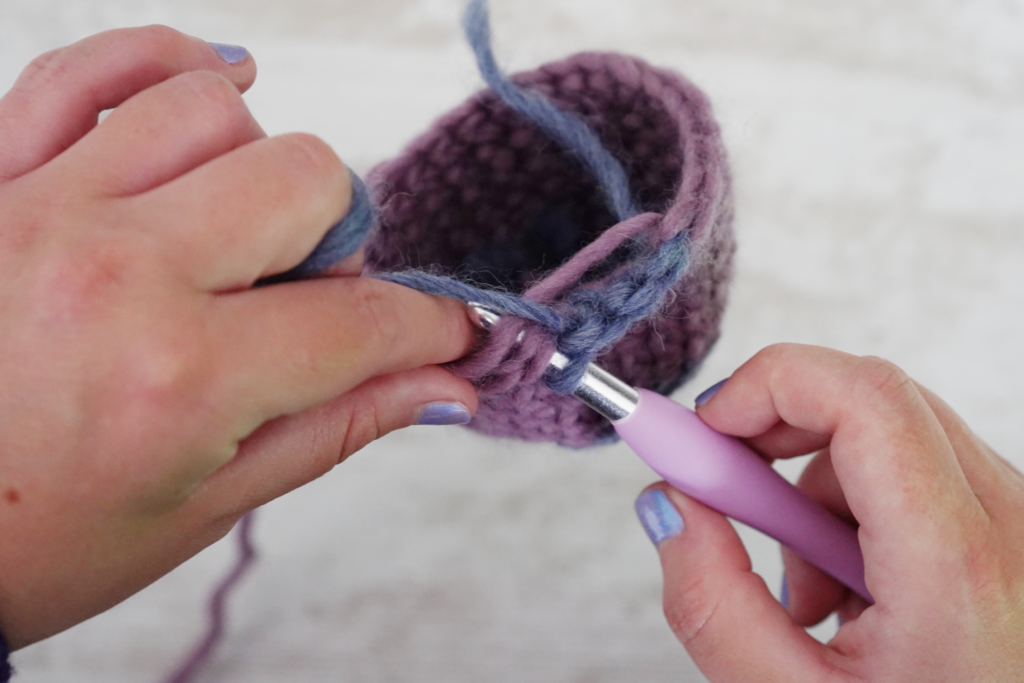
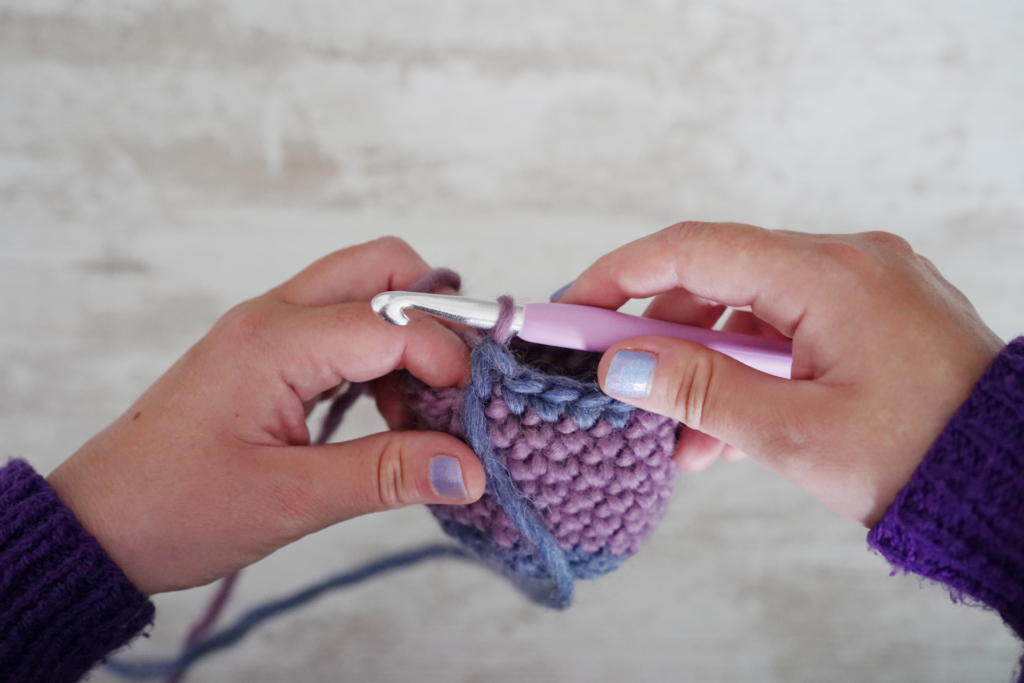
3. Lay the Color A strand along the stitches.
4. Yarn Under with the Color B strand, passing the hook under the Color A strand to trap it within the stitch.
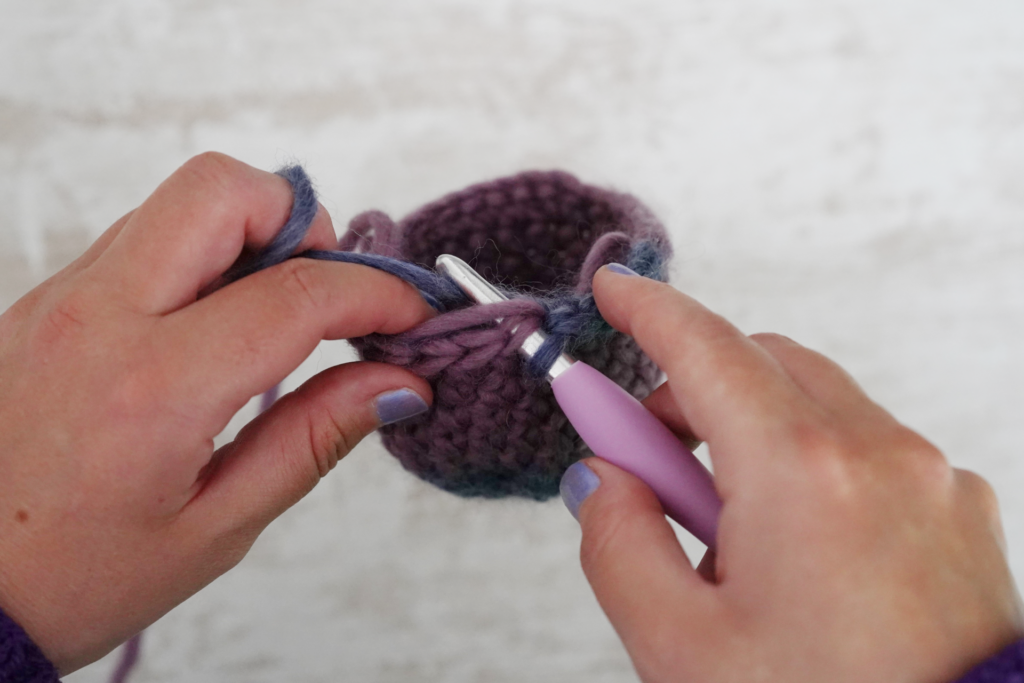
5. Bring the Color B strand to the front of the work.
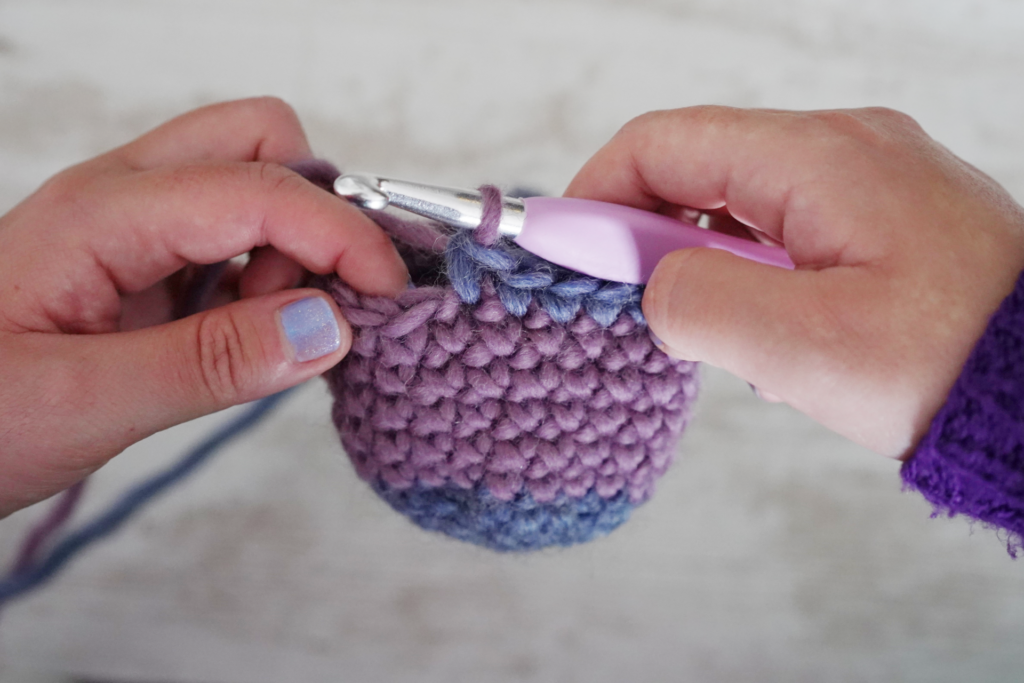
6. Yarn Over with the Color A strand.
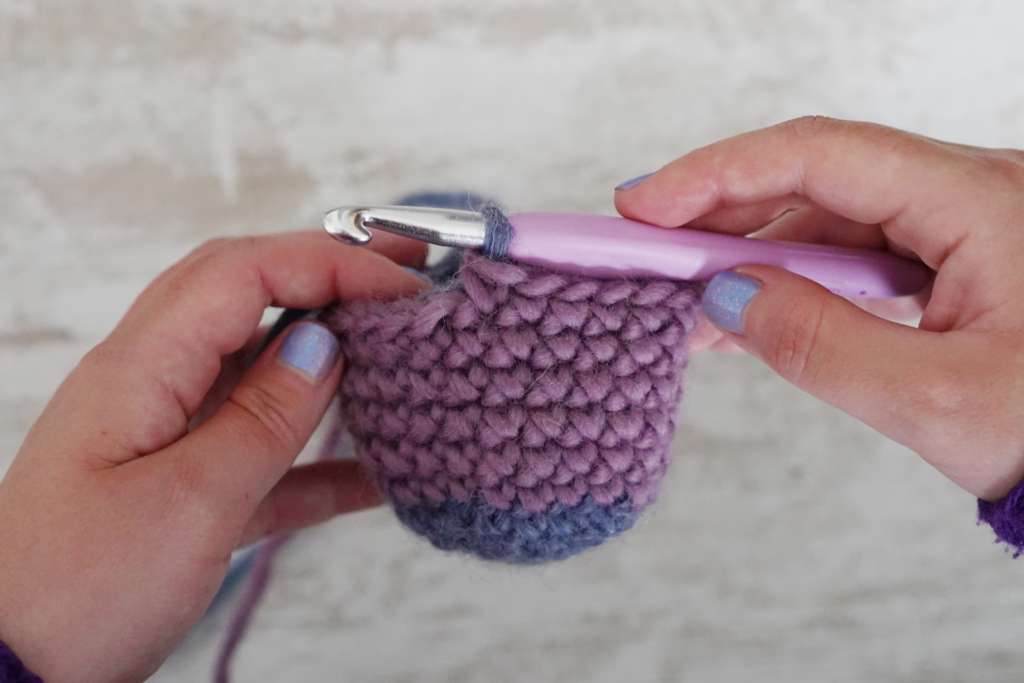
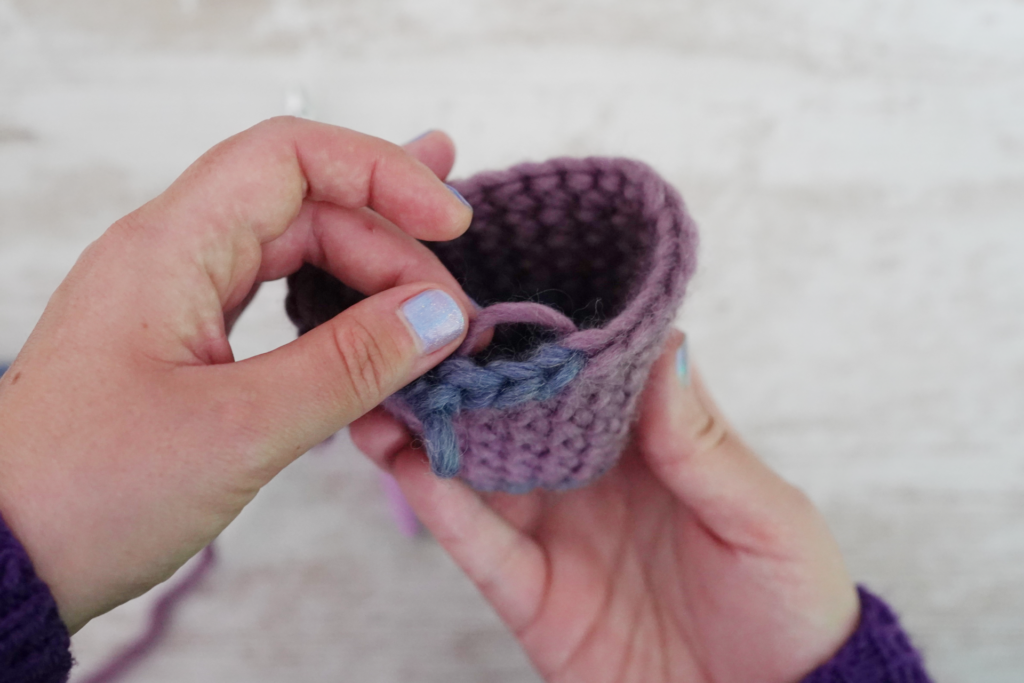
7. The color change is complete. Place the Color B strand back behind the work.
3. YouTube Video Tutorials
I invite you to watch my Youtube video on how to perform the invisible color change in crochet.
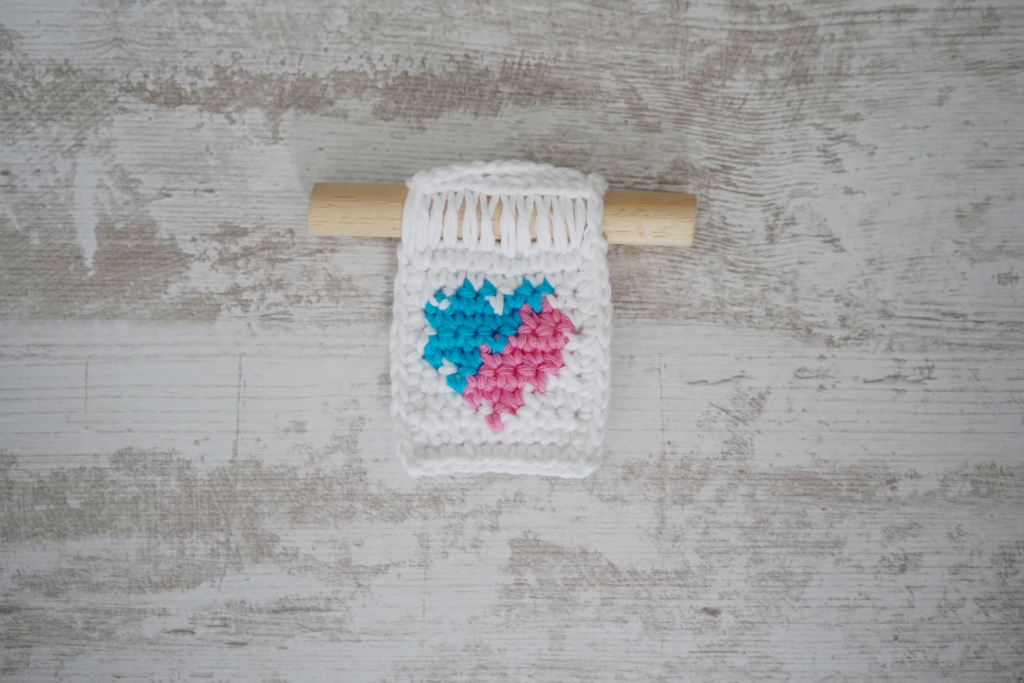
You will be able to create colorful amigurumis!
Mastering the color change in amigurumi is very important. It will allow you to add creativity and flair to your creations!
If you enjoy my tutorials, feel free to subscribe to my YouTube channel and give it a thumbs up ! it helps me a lot! You can also support me by purchasing a product from my Etsy Shop (if a pattern catches your eye, of course! :)).
If you would like tutorials on specific crochet topics, don’t hesitate to let me know in the comments of my videos! You can find all my available tutorials in the Crochet Tutorials & Tips section of the website.