How to do the X-shaped single crochet? The secret of Amigurumis
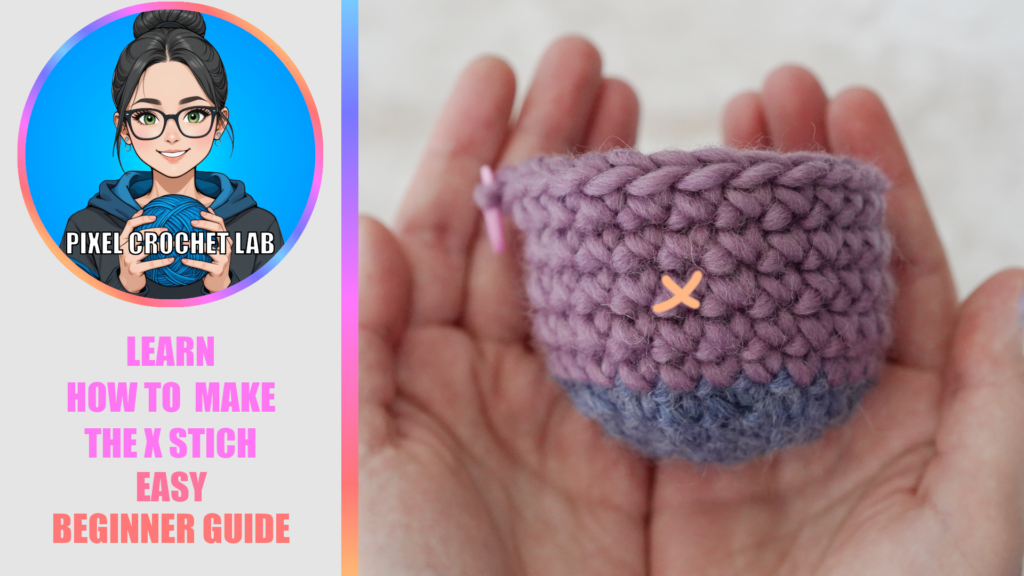
How to do the How to do the X-shaped single crochet? The secret of Amigurumis? The secret of Amigurumis. If you’re wondering why your amigurumis don’t always look like the ones in photos, the secret often lies in the technique used: the X-stitch single crochet (or Yarn Under / Yarn Over). In this guide, I’ll explain the difference between the classic V-stitch single crochet and the X-stitch single crochet, and how to achieve it—whether through written instructions or via my YouTube video tutorial—to get a perfect result!
The X-stitch single crochet: What is it and what is it used for?
In crochet, we naturally use the “Yarn Over / Yarn Over” technique. However, for making crochet plushies and figurines, the X-stitch single crochet has become the gold standard. Unlike the traditional “V-stitch (Yarn Over / Yarn Over)”, the X-stitch (Yarn Under / Yarn Over) is denser, more square, and provides a much more rigid structure to your projects.
The technical advantages of the X-stitch
Row alignment: The X-stitch tends to “slant” or “turn” less toward the right (for right-handers), which makes it easier to align stitches and colors. This also allows for a “straighter” result. When working in a spiral, as is common in amigurumi creation rather than working in rows, it is completely normal for the work to shift over the rounds, but the X-stitch helps reduce this effect, as does proper tension and technique.
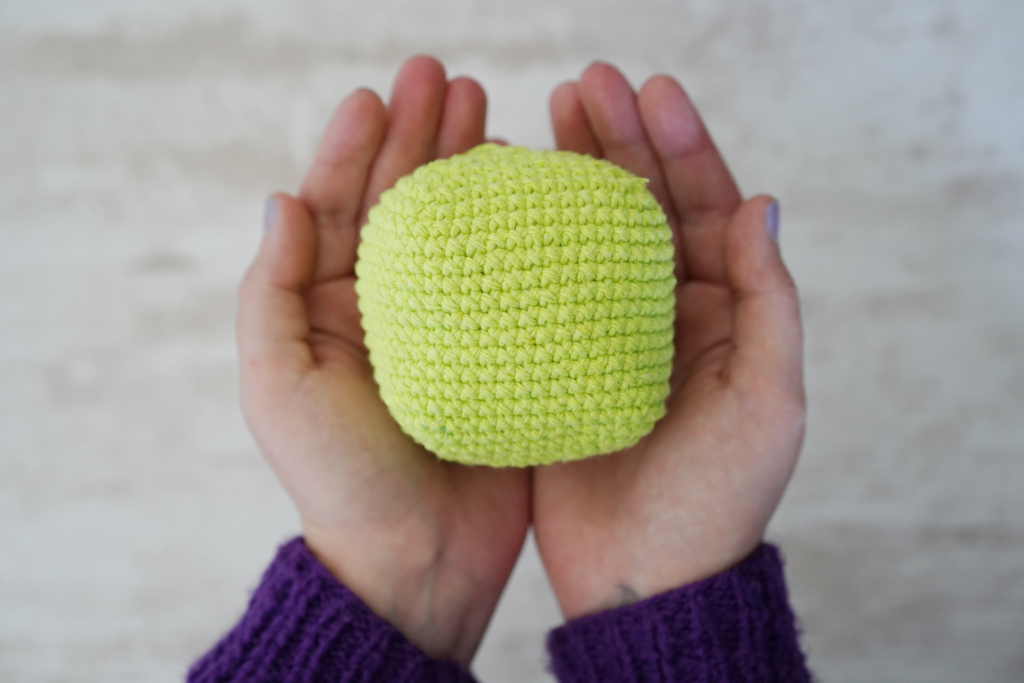
Maximum tightness: The stitches are tighter, which prevents the fiberfill stuffing from being visible between the stitches. Have you ever wondered why you could see gaps in your amigurumis? That is completely normal with the V-stitch. Try the X-stitch it will change your life, as well as the quality of your work!
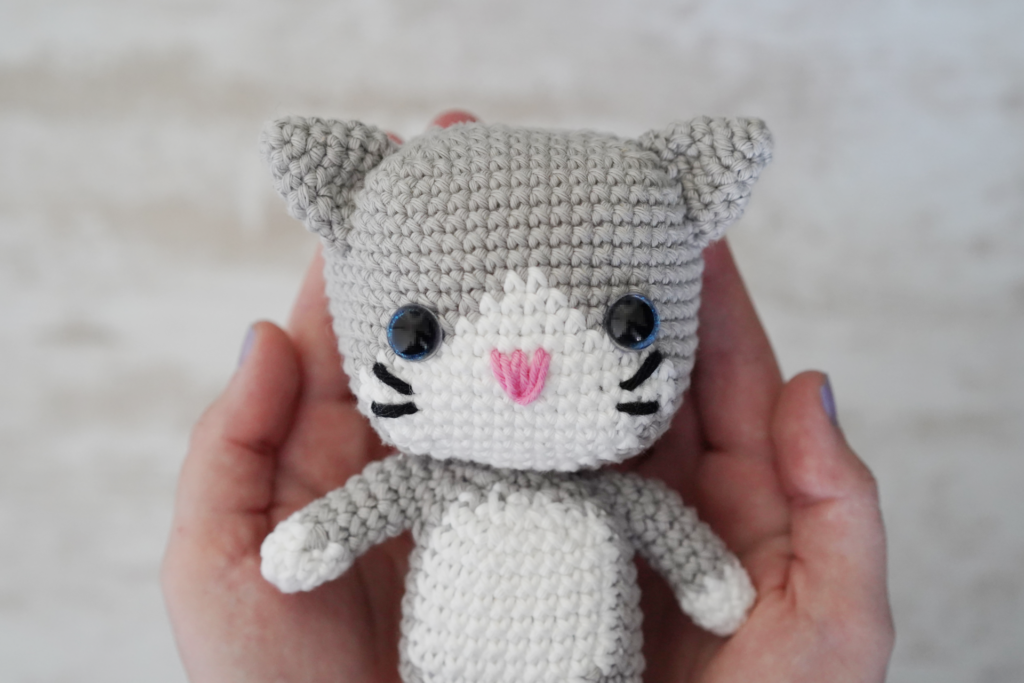
Stitch definition: The pattern forms a small, clean “X,” which is very aesthetic for dolls.
Less deformation: The work is less flexible and less stretchy, allowing the amigurumi to keep its original shape even after several years. With good tension and the right choice of hook and yarn, your work will be clean and nice and rigid.
What is the difference between Yarn Over and Yarn Under?
To understand the X-stitch single crochet, you must master the movement of the hook in relation to the yarn:
The Yarn Under (YU): The hook passes over the yarn and “catches” it from below.
The Yarn Over (YO): The hook passes under the yarn to grab it.
It is the combination of these two techniques that creates the X-stitch. Making a stitch with two yarn overs will instead create a “V-stitch.”
Tutorial: Step-by-step X-stitch single crochet
Now, let’s get to the practice. I will explain step-by-step how to create an “X-stitch.”
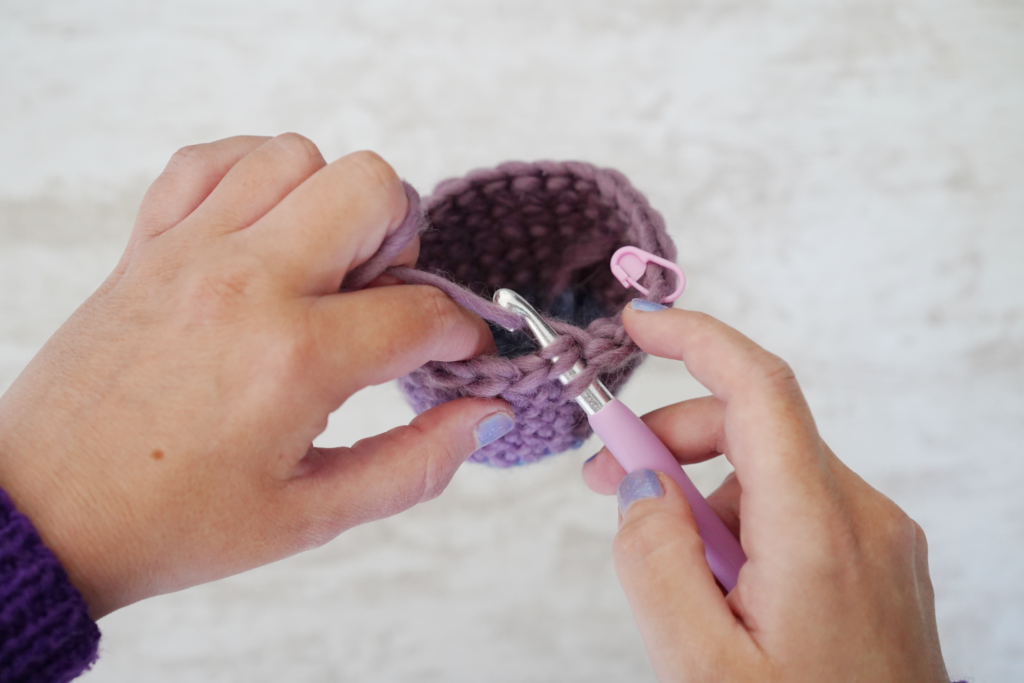
1. Insert the hook into the stitch
Insert your hook under both loops of the stitch from the previous row.
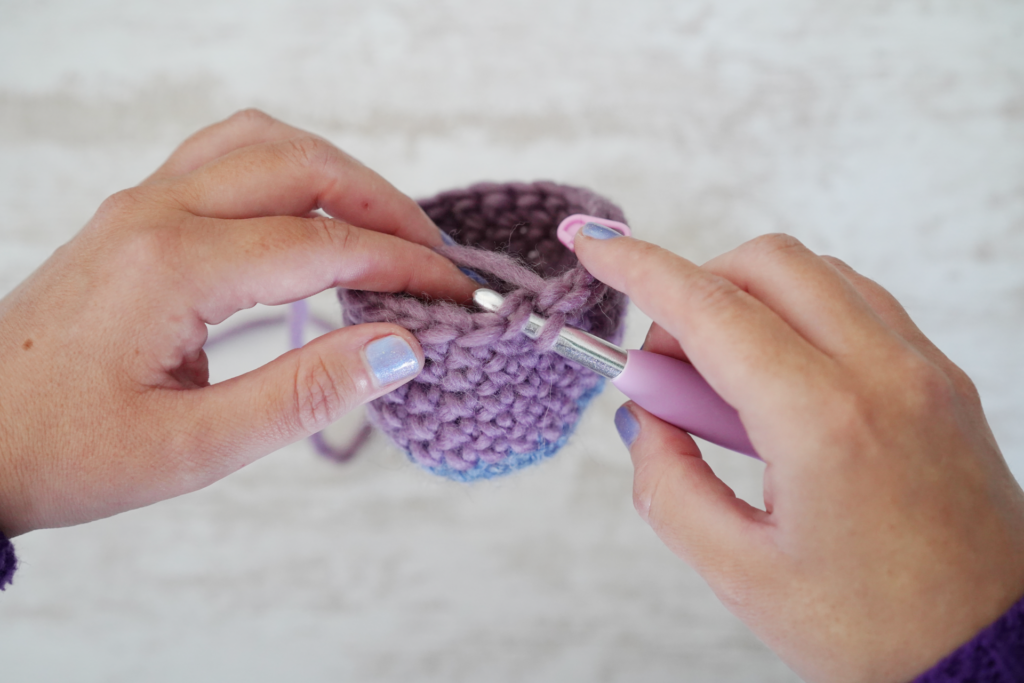
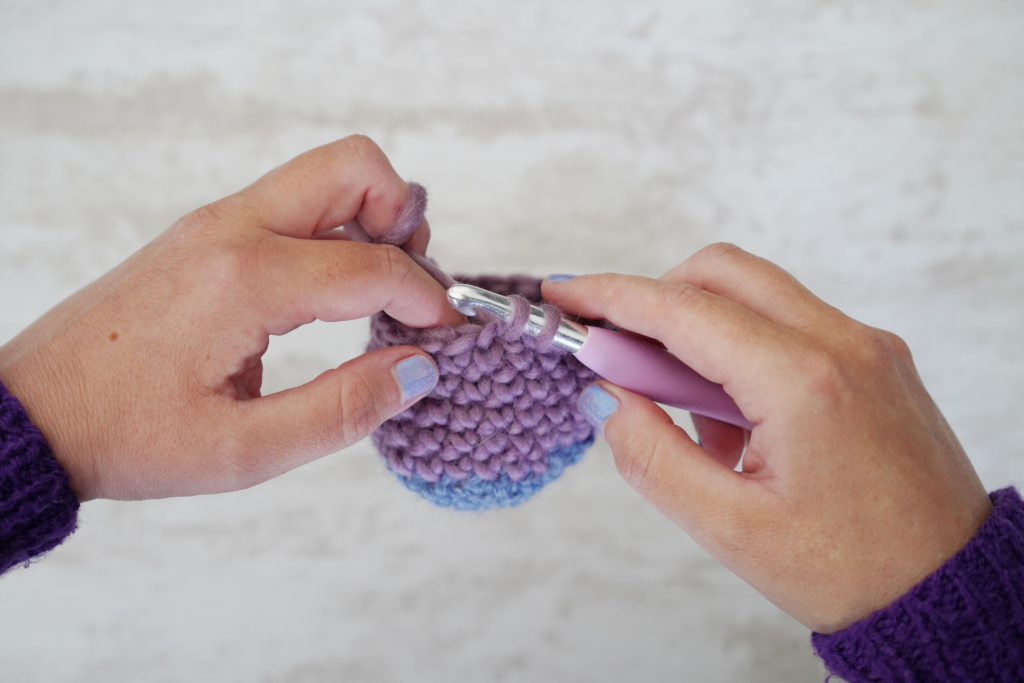
2. The first Yarn Under
Instead of passing your hook under the yarn, place your hook over the yarn (Yarn Under). Catch the yarn with the head of the hook and pull it through the stitch, under the two loops. You now have two loops on your hook.
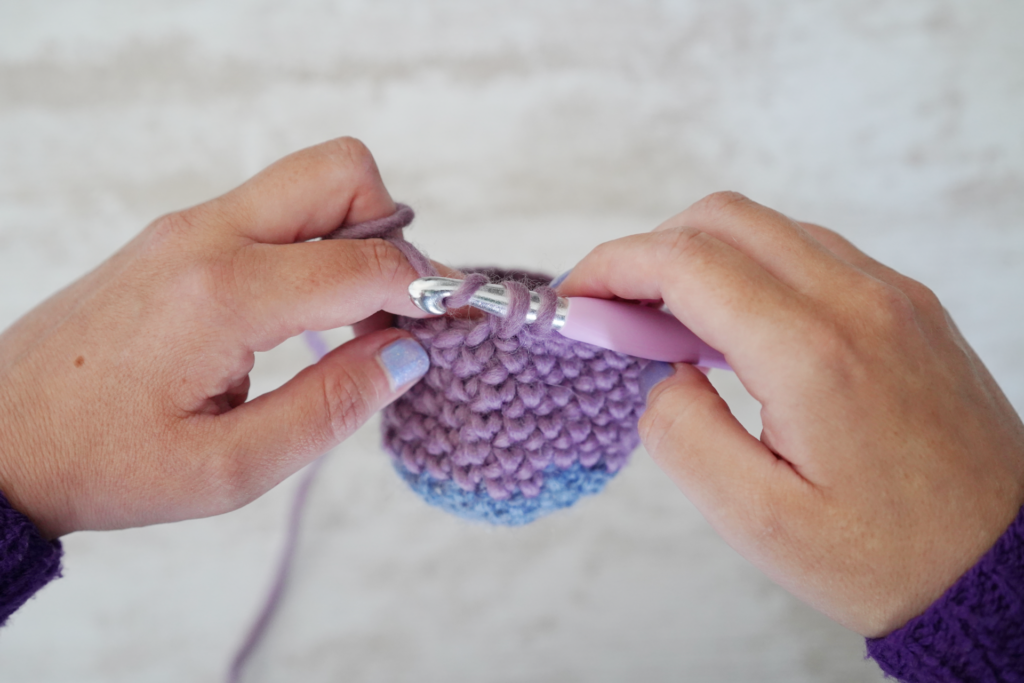
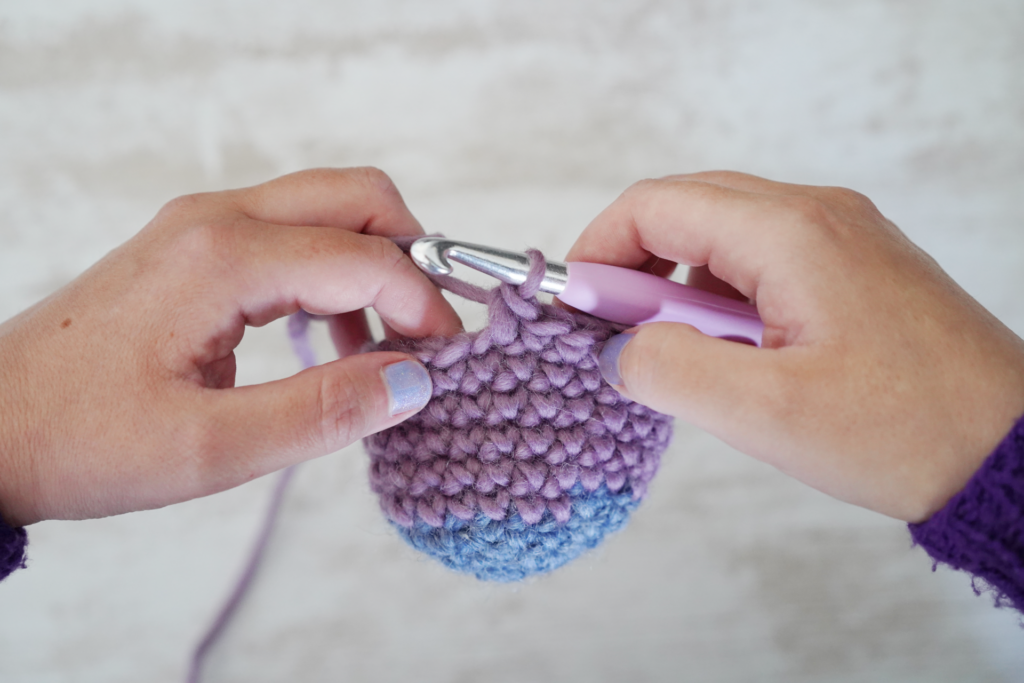
3. The second Yarn Over
To finish the stitch, yarn over : pass the hook under the yarn (Yarn Over) and pull it through the two loops on the hook.
4. YouTube tutorial videos
I invite you to watch my YouTube video on how to create the X-stitch.
Conclusion: Adopt the “X” reflex!
Once you have experienced the consistency of the X-stitch single crochet, you won’t be able to go back for your amigurumis. It is the little detail that transforms a beginner project into a much more professional and clean creation.
If you enjoy my tutorials, feel free to subscribe to my YouTube channel and give it a thumbs up ! it helps me a lot! You can also support me by purchasing a product from my Etsy Shop (if a pattern catches your eye, of course! :)).
If you would like tutorials on specific crochet topics, don’t hesitate to let me know in the comments of my videos! You can find all my available tutorials in the Crochet Tutorials & Tips section of the website.