Introduction
Welcome to the exciting world of crocheted blankets! If you love playing with patterns and colors, embarking on a single crochet tapestry blanket is a truly rewarding adventure. What’s great about this technique is that it allows you to create large, detailed, and impressive projects while remaining remarkably accessible. Single crochet is ideal for a crochet blanket pixel art grid, allowing for a high level of detail. Plus, the technique relies entirely on crochet basics: there are no complex stitches to learn or master!
To get started with confidence, a two-tone blanket is a fantastic option. Working with just two shades makes color management effortless. Simply by playing with contrast, you can create stunning, intricate designs. A two-tone project also takes the stress out of choosing matching yarns at the store. With endless beautiful combinations available, you can say goodbye to the fear of picking colors that clash! In the end, the sense of pride and satisfaction when looking at your finished blanket is simply unmatched.
However, beyond the technique itself, choosing the right tools is crucial to the success of your project. Having proper equipment prevents frustration and turns every hour of work into pure enjoyment. In this guide, I’ll walk you through all the essential materials you need to set your future blanket up for success.
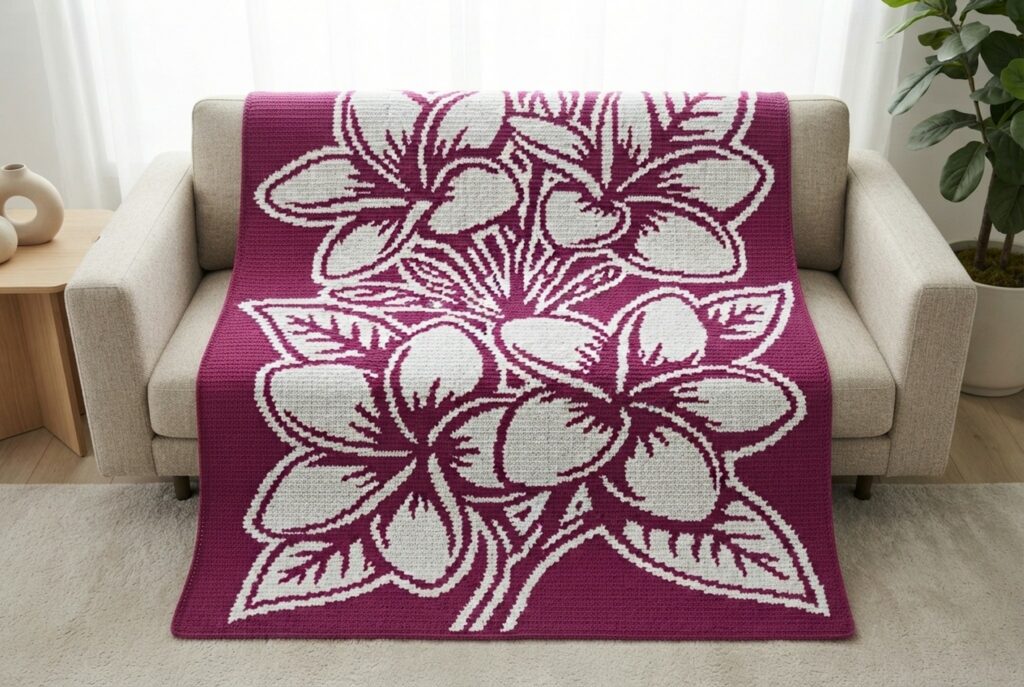
Acrylic single crochet blanket (125 x 165 cm / 49 x 65 in) for a 200 x 280 square pixel art grid
(Digital preview AI-generated from a pixel art grid I designed myself using pixel art software)
1. High-Quality Acrylic Yarn (OEKO-TEX Standard 100)
For a tapestry crochet blanket, yarn selection is key. I highly recommend opting for high-quality acrylic yarn certified under OEKO-TEX Standard 100. Why acrylic? A single crochet tapestry blanket is a large-scale project requiring a significant amount of material: acrylic offers excellent value for money, is lightweight, and holds up well in the wash.
The OEKO-TEX Standard 100 label guarantees that the yarn is free from substances harmful to human health and the skin. This is a non-negotiable criterion. Avoid buying skeins if this label isn’t clearly stated on the yarn band or product listing!
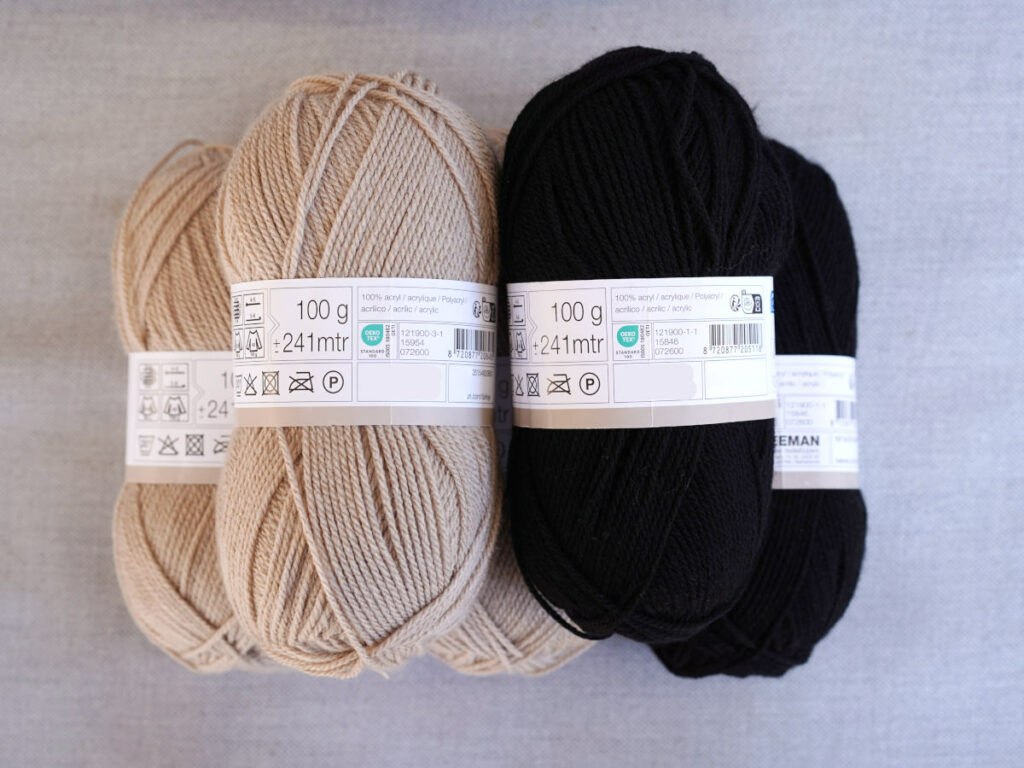
OEKO-TEX Standard 100 certified acrylic skeins
2. The Right Hooks for Your Yarn
Choosing the right hook size is one of the key secrets to successful tapestry crochet—especially for single crochet tapestry blankets. If the yarn label recommends a 5 mm hook, my pro tip is to size down to a 4 mm hook.
Why use a smaller hook? Single crochet tapestry blankets require frequent color changes throughout the project, on both the right and wrong sides of the work. To achieve a sharp, clean design, your stitches need to be neat and tight (without being overly stiff). Using a hook smaller than recommended prevents tiny gaps or holes between stitches, ensuring crisp color transitions. It also saves your hands from fatigue because the smaller hook does the work for you. You won’t need to force yourself to pull your stitches tighter.
Opt for an ergonomic hook with a comfortable silicone or wooden handle. Since a blanket involves tens of thousands of stitches, hand comfort is essential to avoid wrist and finger strain.
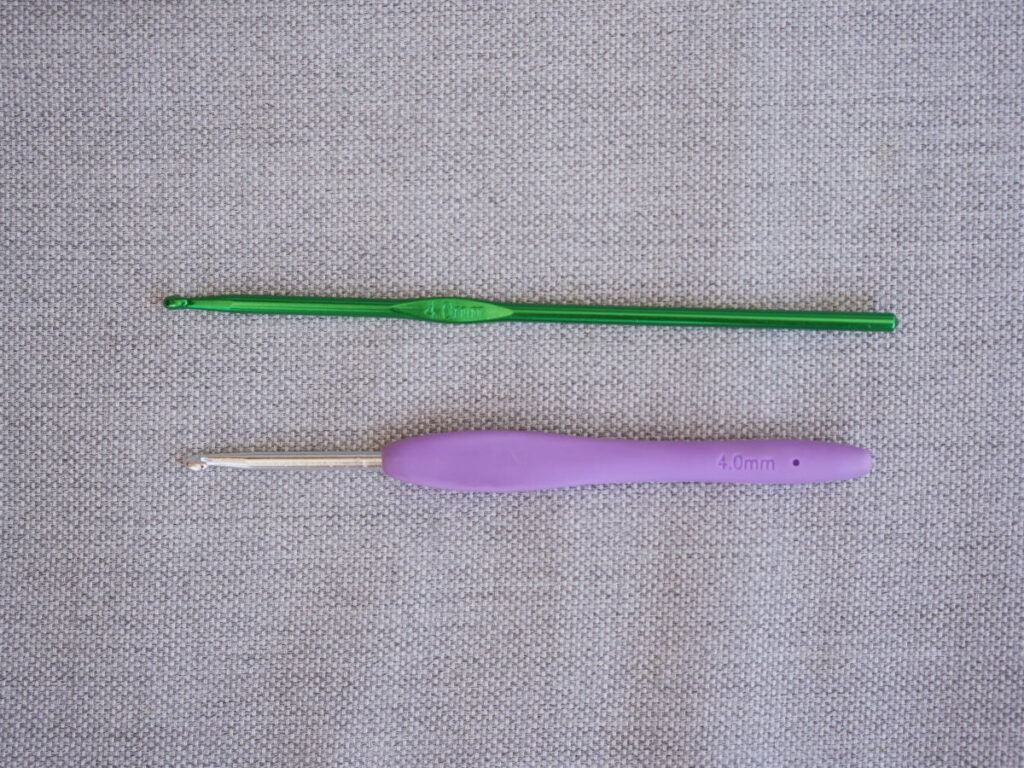
Crochet hooks with and without handles for tapestry crochet blankets
3. Yarn Bobbins
If you’ve ever tried multi-color crochet, you know how easily yarn can tangle! When making a blanket, yarn bobbins are an absolute must. These are small, sturdy plastic accessories, often shaped like little fish.
A bobbin holds a moderate amount of yarn (usually 5 to 10 grams) dedicated to a specific color section of your pattern. Instead of carrying yarn across the entire width of the blanket—which adds unnecessary weight, looks messy, and wastes yarn—each color change is fed by its own bobbin. Throughout the project, you add and remove bobbins as required by the chart.
Thanks to this method, your blanket remains reversible, neat, and free of unsightly floating threads on the back. The fish shape secures the yarn tightly to prevent it from unwinding on its own—a true game-changer for your peace of mind! Bobbins also clip directly onto the blanket, keeping your working threads tangle-free. A huge relief when working on large, time-consuming projects!
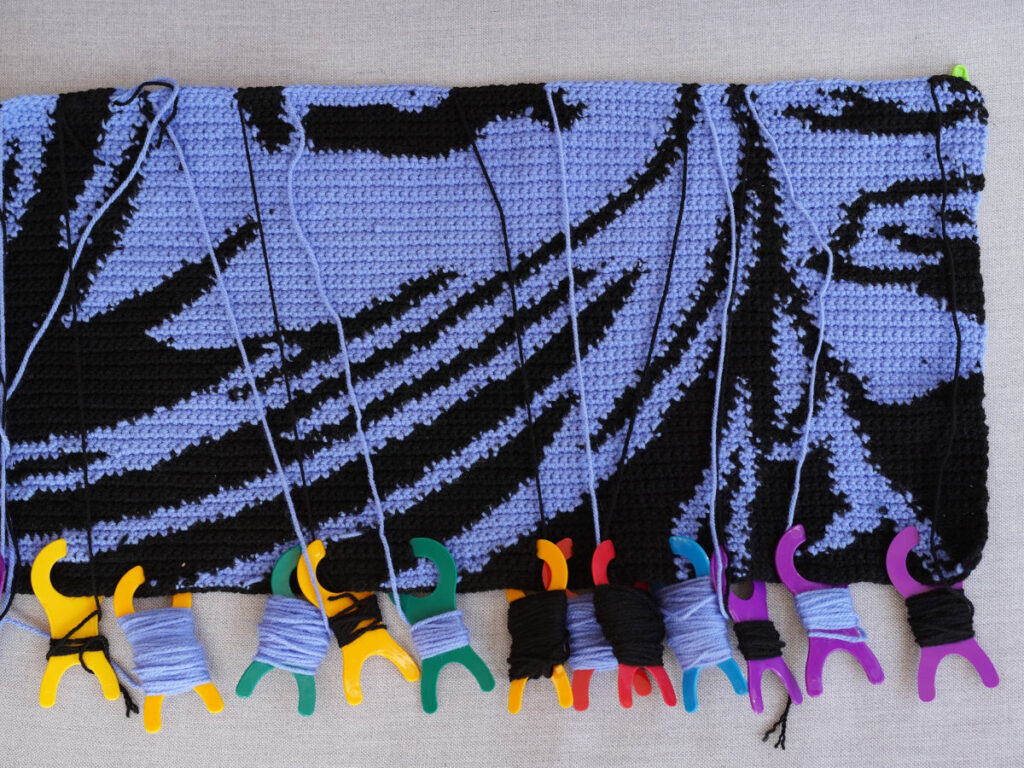
Back side of a two-tone blanket using bobbins for each color change.
Neat and reversible finish
4. Stitch Markers
Stitch markers are an organized crocheter’s best friend. In tapestry crochet, they serve two crucial purposes for blanket projects.
First, they secure your work when you set it down. Slipping a marker into the loop of your last stitch prevents your work from accidentally unraveling.
Second, they keep you on track during long stretches of a single color (for example, a row of 50 identical stitches). Placing a marker every 10 or 20 stitches—or at the end of a section—saves you from recounting from the beginning every time you get distracted.
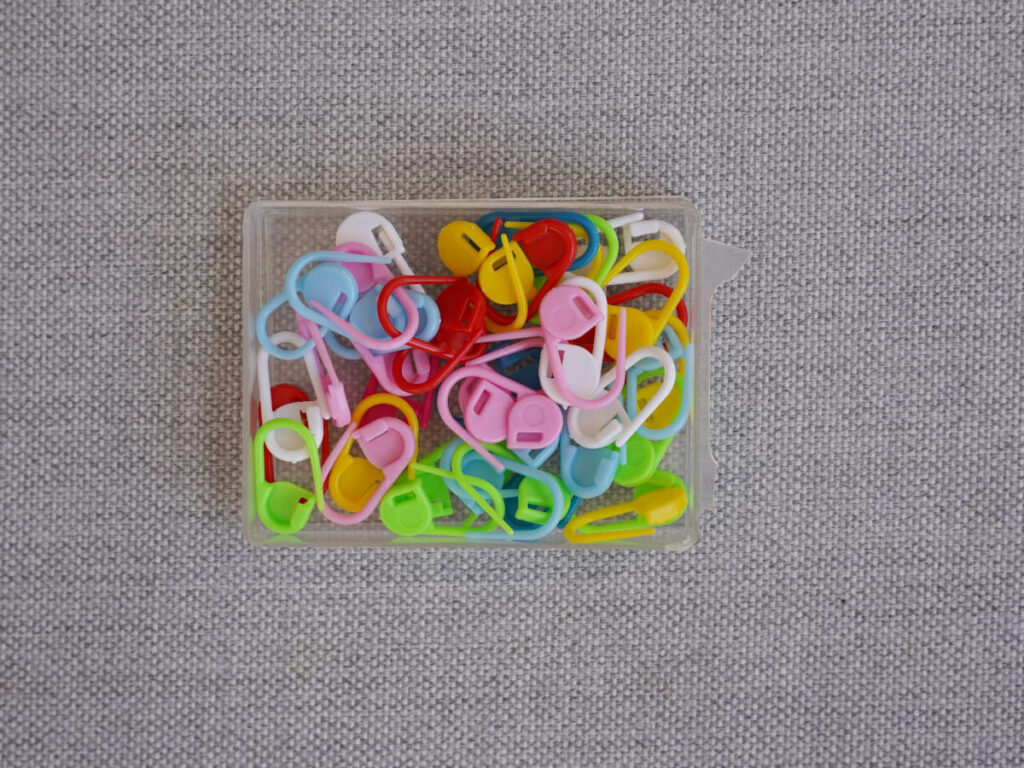
Stitch markers
5. A High-Quality Pattern by an Experienced Designer
Creating a tapestry crochet blanket represents a big investment of time and passion. To avoid disappointment, it’s essential to work with a high-quality pattern designed by an experienced crocheter.
A great blanket pattern does more than just give you a color grid: it includes general guidelines (materials, colors, yardage requirements) to help you prepare, row-by-row and block-by-block written instructions, and helpful tutorial links.
If you’re looking for inspiration for your next project, feel free to browse my Etsy shop! I offer a curated selection of original patterns specially designed for pixel art single crochet tapestry blankets.
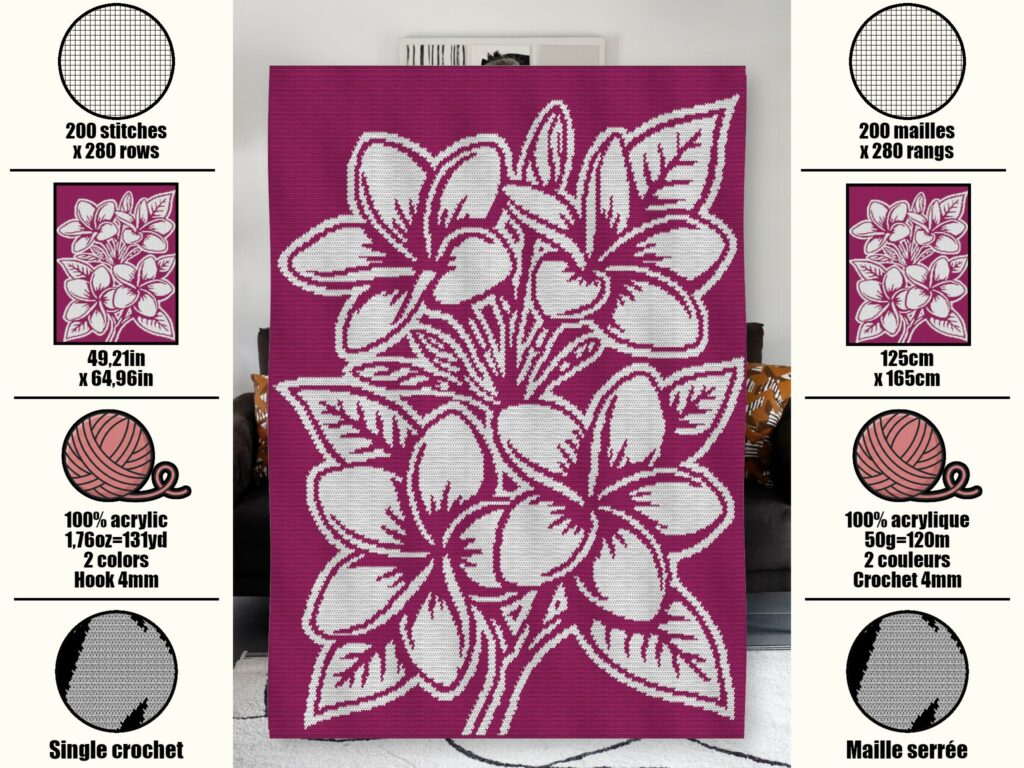
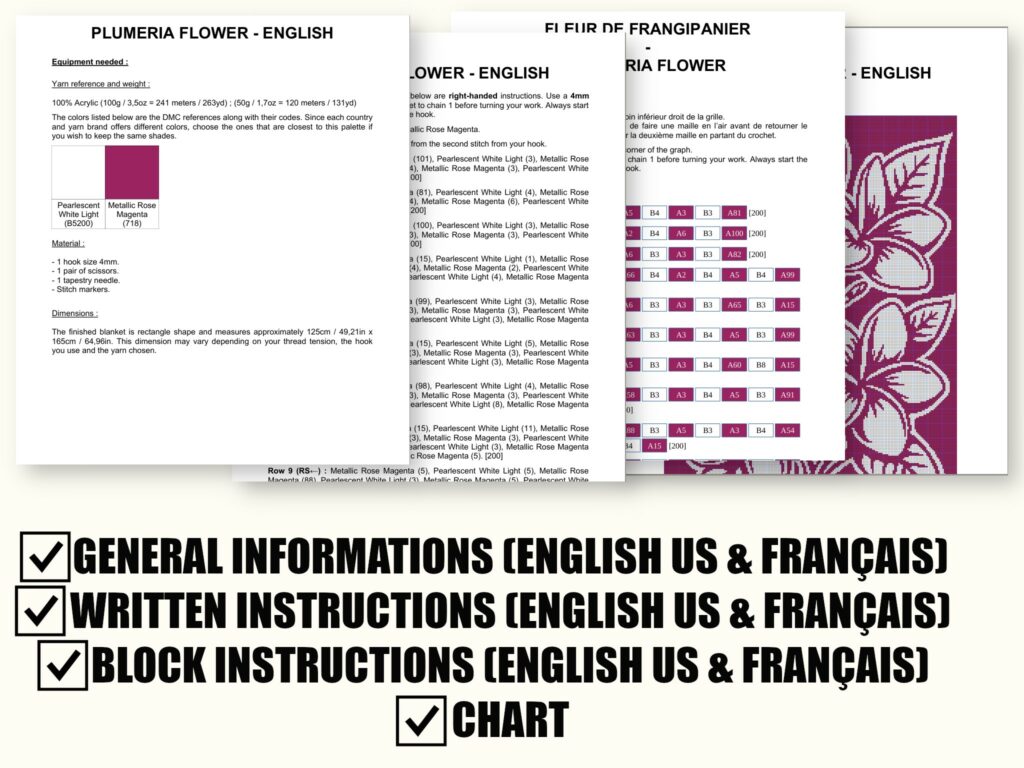
Here is what my pixel art crochet blanket patterns look like
7. A Gauge Swatch (To Calculate Yarn quantity and Finished Blanket Size)
Crocheting a gauge swatch is a step many tend to skip out of impatience, but it’s a cardinal rule in crochet! A gauge swatch involves making a small square (usually 10 x 10 cm / 4 x 4 in) using the exact stitches and technique from your pattern grid.
Swatching serves three strategic purposes:
- Hook & Tension Check: It allows you to test your hook size and gauge your tension. If your hook is too small, the fabric will feel stiff and scratchy. Conversely, a hook that is too large will produce a fabric that is overly loose and floppy. You want to find the sweet spot: tight stitches with a pleasant, soft touch.
- Yarn Quantity: It’s the only reliable way to calculate the exact amount of yarn (in grams/ounces) needed for each color. Nothing is more frustrating than running out of yarn midway through a complex pattern! Measuring and weighing your gauge swatch allows you to start your blanket with peace of mind.
- Sizing Accuracy: It helps you determine the final size of your blanket compared to the pattern measurements, as gauge varies based on your personal tension, yarn choice, and hook size.
Whenever I try a new yarn brand, I always make a few swatches to find the perfect setup—and I keep track of all these notes in a dedicated journal.
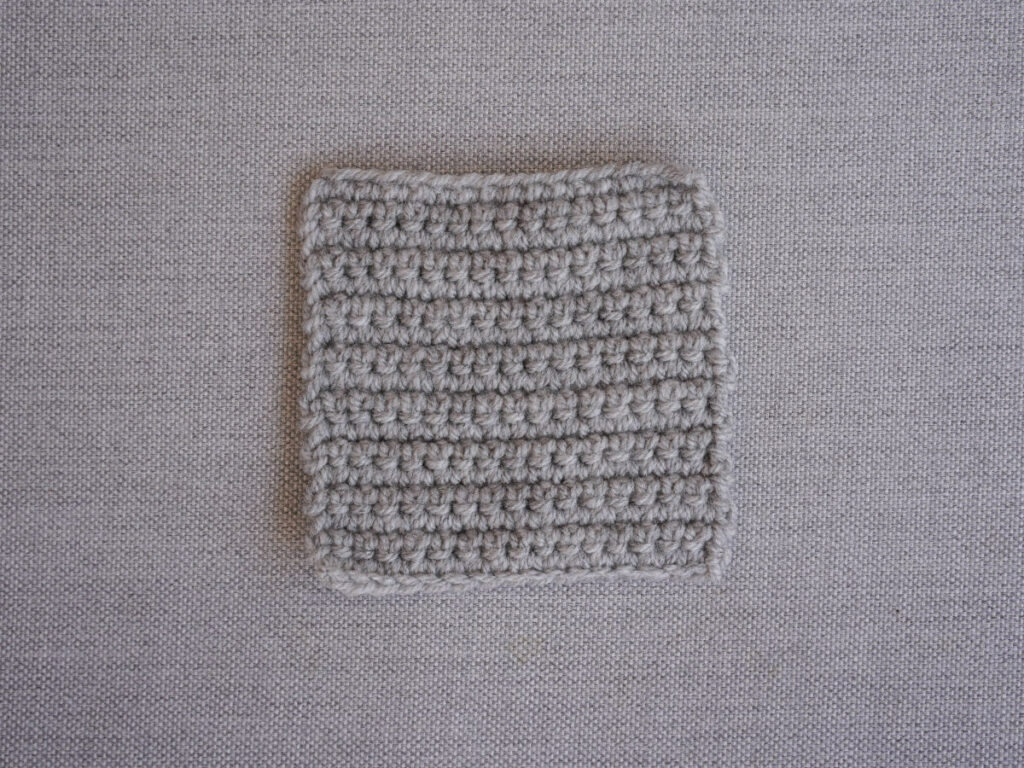
Gauge swatch i made for creating my tapestry crochet blanket pattern using single crochet stitch
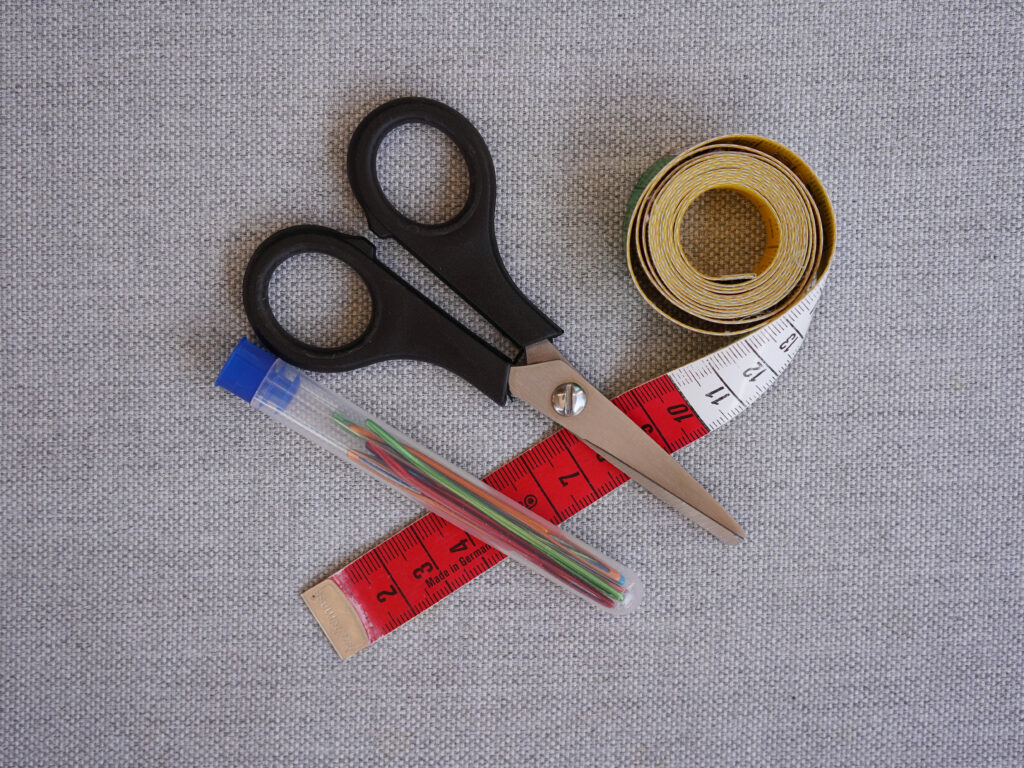
7. Other Small Tools
You will also need:
- Tapestry needle: to weave in your ends securely over a few stitches before cutting.
- Scissors: to trim your yarn and wind your bobbins.
- Tape measure: to measure your swatch and your blanket.
Over to You!
You now have all the tools and knowledge needed to assemble the perfect kit and jump into the world of tapestry crochet. Choosing the right materials guarantees hours of relaxing, stress-free, and creative crafting. Once your yarn and notions are ready, all that’s left is to enjoy watching your blanket come to life, row by row!
Written by Pixel Crochet Lab